How to Replace a Kitchen Faucet in 90 Minutes
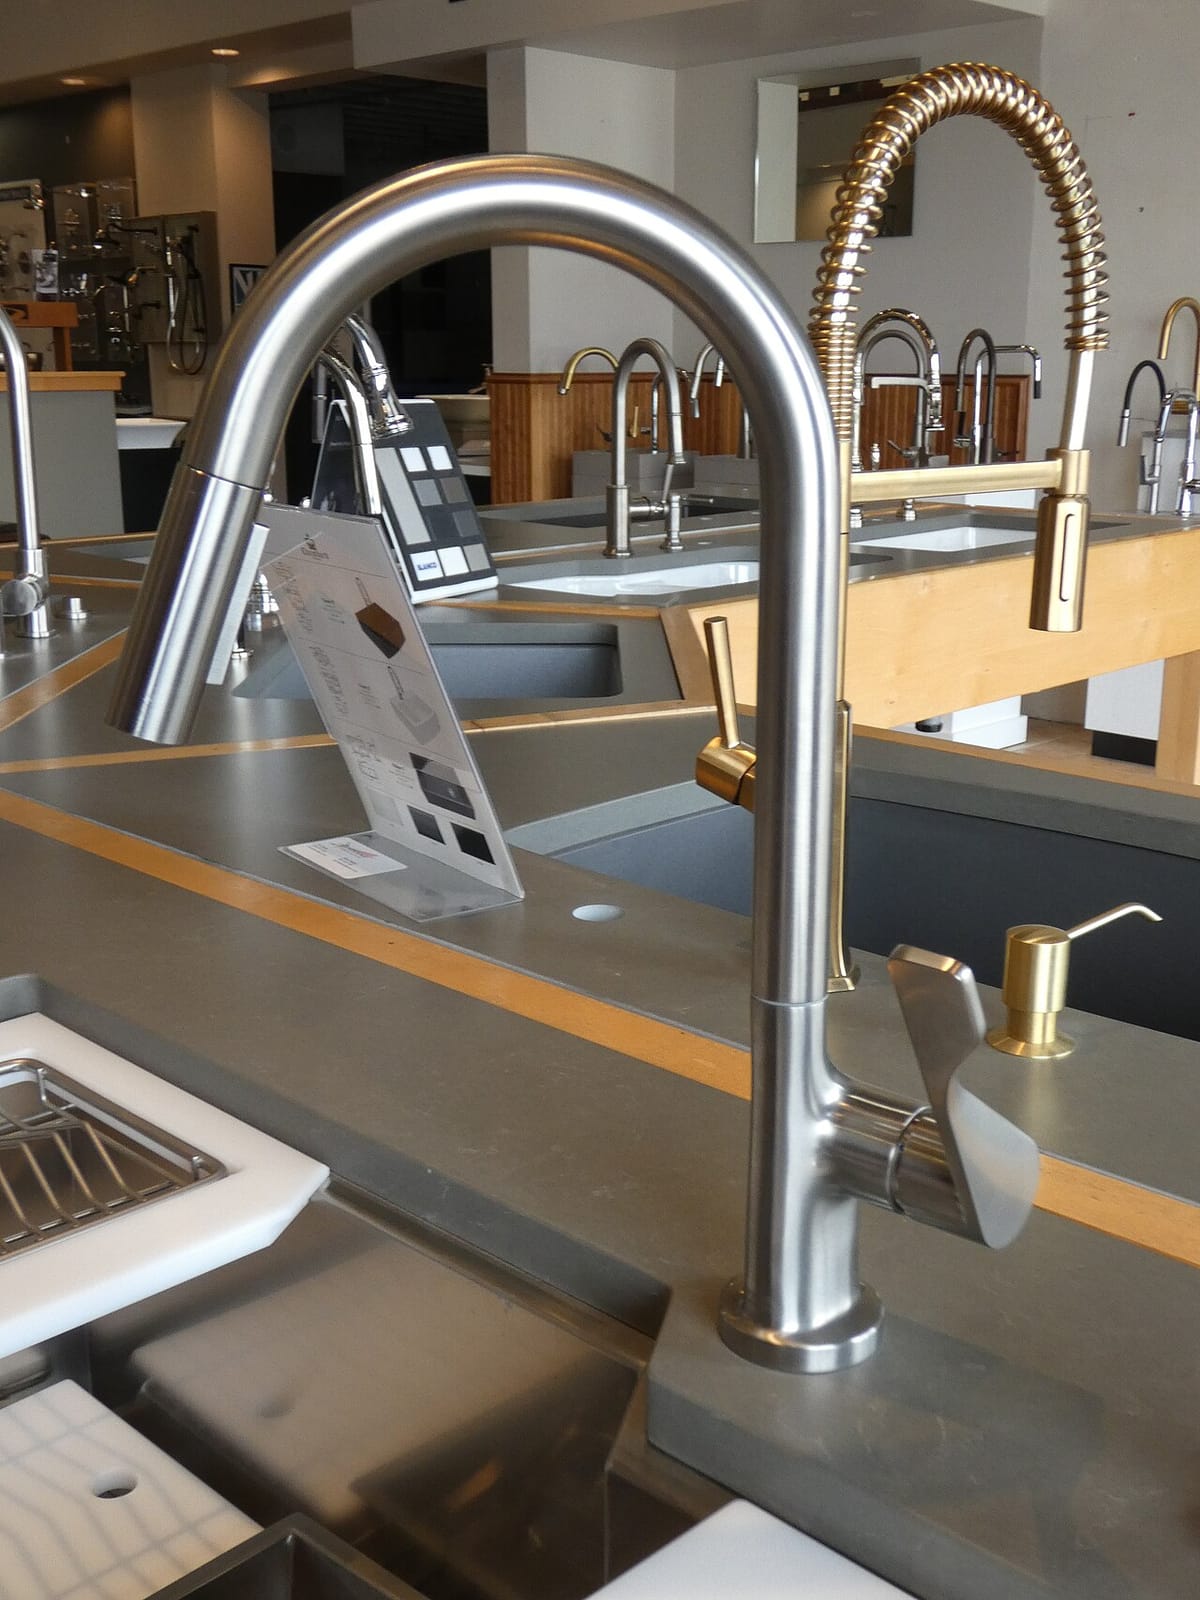
Cover photo by Stilfehler via Wikimedia Commons, CC0, resized.
If this fix touches water, gas, or power, the guide starts with the shutoff step and says when a licensed pro should take over.
Product links in this guide are affiliate links. If you buy through one, we may earn a small commission at no extra cost to you. It never changes which products we recommend.
The faucet drips no matter how many times you tighten it, the finish is peeling, or the sprayer hose has given up. At some point a new kitchen faucet is simply cheaper than another repair. It’s a satisfying job: the old one comes out in 20 minutes, the new one goes in in 30, and the result is the first thing anyone sees in the kitchen.
Quick Answer
Here’s how to replace a kitchen faucet: close the two shutoff valves under the sink, open the faucet to drain the lines, and disconnect the two supply lines with a wrench. Reach up with a basin wrench to loosen the mounting nuts, lift the old faucet out, and clean the sink surface. Fit the new faucet with its gasket, tighten the mounting nut from below, connect new supply lines hand-tight plus a quarter turn, then remove the aerator and run the water for a minute to flush debris before you reattach it. It’s 60 to 120 minutes and $60 to $250 for the faucet. If a shutoff valve leaks or won’t turn, stop and replace the valve or call a plumber.
What You’ll Need
- A kitchen faucet, $60–$250, matching your hole count
- A basin wrench, $10–$18, which reaches nuts in a cramped cabinet
- Two braided supply lines, $8–$15 each, in the right length
- An adjustable wrench and channel-lock pliers
- A bucket, towels, and a flashlight or headlamp
- Plumber’s putty or a bead of silicone, only if the faucet has no gasket
Step-by-Step
Clear the cabinet and shut off the water
Empty the cabinet under the sink and lay down a towel. Turn both shutoff valves clockwise until they stop, and open the faucet to release the pressure. If a valve is stuck, leaking, or doesn’t shut the flow fully, that’s the first thing to fix. Also unplug the garbage disposal and disconnect the dishwasher line if they’re in the way. Take a photo of the plumbing before you start, so you can match the setup later.
Disconnect the supply lines and unscrew the mounting nut
Put the bucket under the connections and loosen the nuts where the supply lines meet the shutoff valves, then the nuts at the faucet tailpieces. Use the basin wrench to reach up and turn the mounting nut that holds the faucet to the sink, usually counterclockwise. This is the step that fights back, since the nut is often corroded. Spray a little penetrating oil on it and wait ten minutes. If the faucet has a pull-down sprayer, unscrew the weight and the hose connection too.
Lift out the old faucet and clean the deck
Lift the old faucet straight up and out. Scrape off old putty and mineral scale from the sink with a plastic scraper and a vinegar-soaked rag. A clean, dry surface helps the new gasket seal. Check how many holes the sink has and make sure your new faucet fits them. A three-hole sink with a single-hole faucet needs the included deck plate.
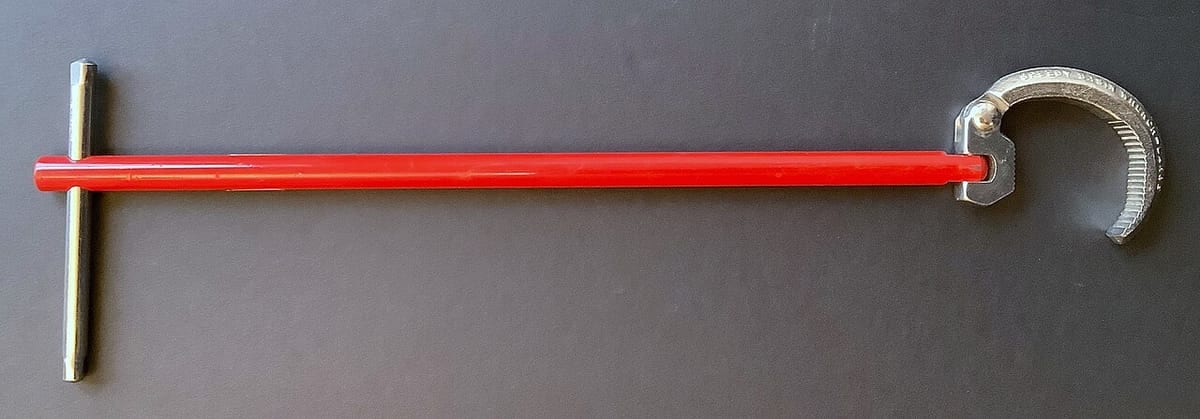 A basin wrench. The pivoting jaw reaches the mounting nut above your head, which a normal wrench cannot. Photo by Lambtron via Wikimedia Commons, CC BY-SA 4.0, resized.
Install the new faucet and tighten from below
Feed the new faucet’s tailpieces and hoses through the holes. Press the gasket or deck plate flat against the sink, then crawl under and tighten the mounting nut or bracket by hand, then a half turn with the basin wrench. Have a helper keep the faucet straight from above. Overtightening can crack a thin sink. A pull-down hose runs down through the faucet to the cabinet, where you attach a quick-connect fitting and clip the weight on the hose.
Connect the supply lines and flush the aerator
Connect the new supply lines to the faucet tailpieces first, then to the shutoff valves. Hand-tight plus a quarter turn with the wrench is plenty. Compression fittings seal without tape, and extra force crushes them. Unscrew the aerator from the spout tip. Open the valves slowly, and run the water at full flow for 60 seconds to flush out any grit before it clogs the aerator. Screw the aerator back on, then dry every joint and watch for drips for ten minutes. Lay a paper towel under each connection overnight.
Time and Cost
| Fix | Time | Cost |
|---|---|---|
| DIY replacement, faucet and supply lines | 60–120 min | $75–$290 |
| Basin wrench (one-time) | — | $10–$18 |
| Plumber installs a customer-supplied faucet | — | $200–$450 |
| Plumber supplies and installs | — | $350–$700 |
Why This Works
Every kitchen faucet is a small stack of simple parts: a valve body that mixes water, two supply lines that bring it in, and a mounting nut that clamps the whole thing to the sink through a gasket. Replacing the faucet is replacing the valve body and keeping the plumbing standard. Compression fittings seal because a soft ring crushes against the pipe when the nut is tightened, which is why hand-tight plus a quarter turn is the whole rule. The aerator flush matters because new plumbing sheds scale and bits of old pipe, and they land in the screen on the first use.
Mistakes to Avoid
- Skipping the aerator flush. Debris lodges in the aerator or the faucet cartridge and ruins a $150 faucet in a week. Remove it, flush, reattach.
- Overtightening the supply nuts. Crushed ferrules leak. If a joint drips, tighten an eighth of a turn at a time and stop.
- Buying a faucet without checking the holes. A one-hole faucet won’t cover three holes without the right deck plate. Count the holes before you shop.
- Reusing a 15-year-old supply line. A new line is $10, and a burst one is a flood under the sink. Replace them while you’re there.
If a joint under the sink weeps after the swap, work through the leak test under the kitchen sink. And if the old faucet only dripped, fixing a leaky faucet may have been the cheaper answer.
FAQ
How hard is it to replace a kitchen faucet yourself?
It's one of the easier plumbing jobs: two shutoff valves, two supply lines, and a few nuts. The hard part is working on your back in a cramped cabinet, and loosening mounting nuts that have corroded. With a basin wrench, a first-timer finishes in one to two hours.
How much does it cost to replace a kitchen faucet?
A faucet costs $60 to $250 for a good one, with $10 to $25 in supply lines and a $12 basin wrench. A plumber charges $200 to $450 to install it, plus the faucet. Doing it yourself saves $150 to $300.
Do I need new supply lines when I replace a faucet?
Usually yes, and it's cheap insurance. Old lines get stiff, and a line that fit one faucet may be too short for the next. Braided stainless lines cost $8 to $15 each. Many new faucets include them. Check the thread and length before you reuse any.
How do I know what size faucet will fit my sink?
Count the holes in your sink or countertop: one, three, or four. A single-hole faucet fits one hole, or three holes with a deck plate. Measure the distance between the outer holes on a three-hole sink, usually 4 inches center to center. A faucet label says which hole counts it fits.
Related fixes
Kitchen
How to Fix a Leak Under the Kitchen Sink in One Evening
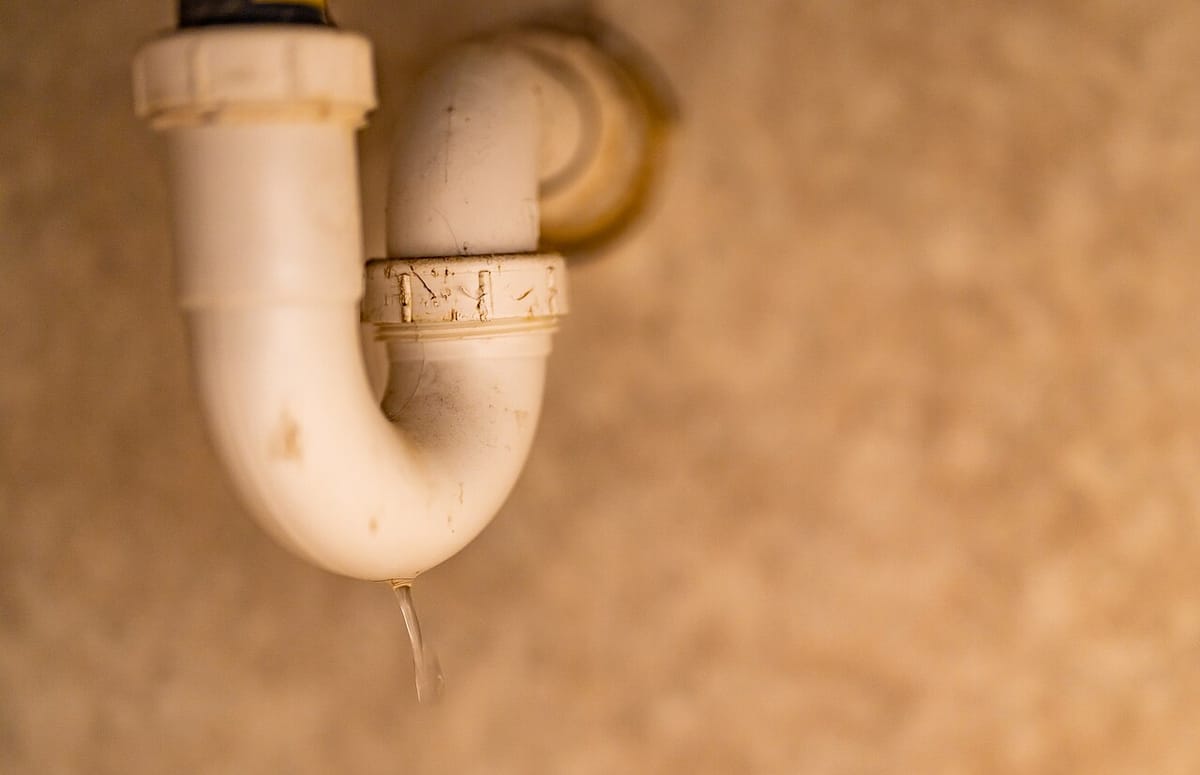
A leak under the kitchen sink is a supply line, the faucet, a drain joint, or the dishwasher hose. A 10-minute test finds which. Most fixes are under $15.
Time30–90 min Cost$0–$25 easy

Kitchen
How to Fix a Leaky Faucet (Find the Right Part First)
A dripping faucet is a worn cartridge, washer, or seal. How to identify your faucet type, buy the right $5–$20 part, and swap it in under an hour.
Time30–60 min Cost$5–$20 moderate


Kitchen
How to Unclog a Kitchen Sink Drain Without Calling a Plumber
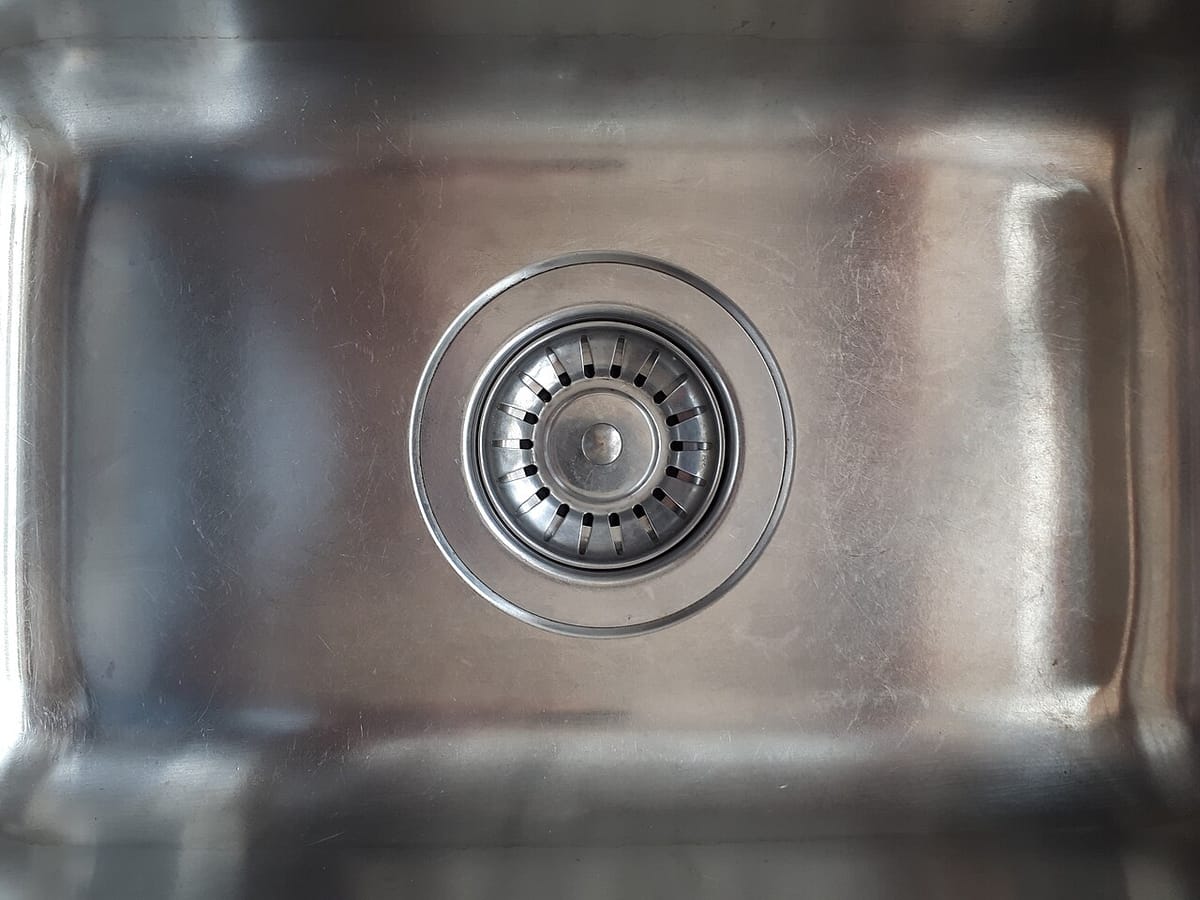
A kitchen sink that won't drain is almost always grease packed in the P-trap. Plunge it right, pull the trap, and snake the line in under an hour for $15.
Time20–60 min Cost$0–$40 easy