Garbage Disposal Smells? Clean It in 10 Minutes (3 Steps)
If this fix touches water, gas, or power, the guide starts with the shutoff step and says when a licensed pro should take over.
Product links in this guide are affiliate links. If you buy through one, we may earn a small commission at no extra cost to you. It never changes which products we recommend.
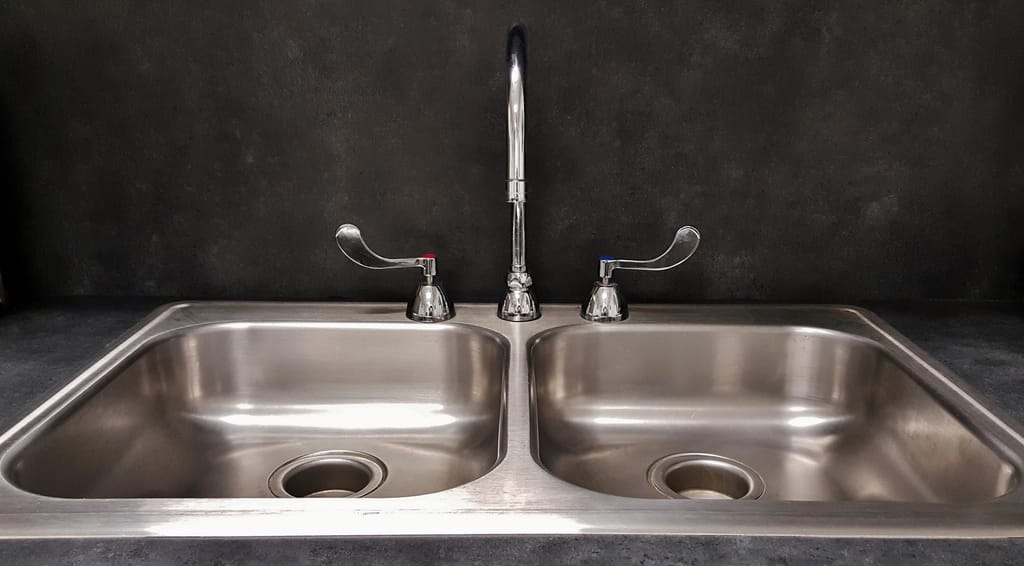
A garbage disposal that smells is doing something impressive: convincing you an appliance is broken when the actual problem is a film of old food in three places you’ve never looked. No parts, no tools beyond a toothbrush. This is a ten-minute cleaning job with a two-habit ending.
Quick Answer
The stink comes from the underside of the rubber splash guard, the grinding chamber walls, and the rotting film coating both, the same biofilm that fouls bathroom drains. Kill the power, scrub the guard’s underside with a toothbrush and dish soap, grind a tray of ice cubes with a handful of coarse salt under cold water, and finish with citrus peels. Total cost is pantry-level, and the fix holds if you change how you feed the thing.
What You’ll Need
- An old toothbrush and dish soap
- A tray of ice cubes and 2–3 tablespoons of coarse salt (rock or kosher)
- Citrus peels: lemon, lime, or orange, whatever’s around
- Baking soda and white vinegar for the drain finish, optional
- Disposal cleaner tablets, ~$7 for a multi-pack, if you’d rather buy the routine than mix it
Step-by-Step
Cut the power first, no exceptions
Unplug the disposal under the sink, or flip its breaker if it’s hardwired. The rule for the entire job: no hand goes past the splash guard while the unit has power, and ideally not even then. The toothbrush reaches so your fingers don’t have to.
Scrub the splash guard’s underside
Lift the rubber flaps at the drain opening and fold them back one section at a time. The underside will be coated in gray-brown sludge. This is the smell, concentrated. Scrub it off with the toothbrush and dish soap, rinse, repeat until the brush comes back clean. If the guard is torn or the sludge is embedded in cracked rubber, a replacement splash guard is $8–$12 and pops in without tools on most units.
Grind ice and salt
Power back on. Fill the chamber with the ice cubes, add the coarse salt, run cold water at full flow, and flip the disposal on until the grinding noise smooths out, about 30 seconds. The ice-salt slurry scours the chamber walls and the spinning impellers, knocking off the film a brush can’t reach.
Finish with citrus
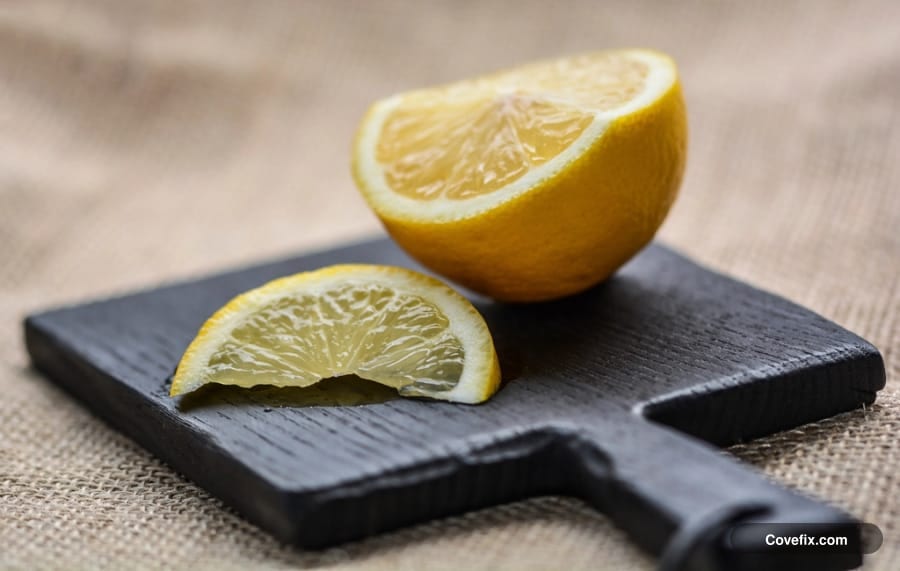 Peels, not whole fruit. The oils in the rind do the deodorizing.
With cold water still running, feed in the citrus peels a few at a time. The rind oils cut the last of the grease smell and leave the drain genuinely neutral: not perfumed over, gone. For extra credit on an old funk: half a cup of baking soda down the drain, a cup of warm vinegar after it, fizz for ten minutes, then a hot-water flush.
Change the two habits
Run cold water for a few seconds before feeding the disposal, keep it running ten seconds after the grinding stops, and keep grease out entirely by pouring it into a can, not the drain. Those two habits are why some disposals never smell and others need this article monthly.
Time and Cost
| Item | Amount |
|---|---|
| Active cleaning time | 10–15 min |
| Ice, salt, citrus, baking soda | ~$2 |
| Cleaner tablets, if preferred | ~$7 for months |
| Plumber visit for a “broken” smelly disposal | $100–$200 |
Why This Works
A disposal is a wet, warm, food-lined chamber, the ideal biofilm farm, same as a musty washing machine. Every scrap you grind splashes the walls and the guard’s underside, and the film that builds there rots continuously. Soap and a brush remove it where you can reach. Ice and salt are mechanical abrasive for where you can’t. Citrus oil handles the odor molecules left over. Nothing is wrong with the machine, which is why no amount of running it ever fixed the smell.
Mistakes to Avoid
- Cleaning everything except the splash guard. It’s the most common miss and the whole reason the smell survives a “deep clean.”
- Hot water while grinding food. Hot water melts grease so it can re-harden as pipe coating downstream. Cold keeps grease solid and grindable. (Hot is fine for flushing an already-clean drain.)
- Hand past the guard. Not for the spoon, not for the bottle cap. Unplug it, then use tongs or pliers. Every ER knows this appliance by name.
- Chemical drain cleaner in a disposal. It pools in the chamber, attacks the seals, and doesn’t touch the guard sludge anyway. If the drain itself is slow, that’s a trap problem, not a disposal problem.
If the smell survives all of this, it isn’t the disposal. A swampy smell that appears when the dishwasher door opens is coming from its own filter, which cleans up in ten minutes. Otherwise sniff the dishwasher connection and the P-trap, and if the whole sink area smells swampy, the drain line wants the same treatment as a slow bathroom sink. Small flies hanging around the sink instead of a smell point to the same buildup. See getting rid of drain flies.
If the dishwasher beside it has been leaving standing water too, they share a drain line and the blockage is worth working through in order. And if the disposal has quit running rather than just smelling, humming and silence point to two different repairs.
FAQ
Is it safe to put lemon in the garbage disposal?
Peels and small wedges, yes. The oils deodorize and the coarse texture scrubs. A whole lemon, no: the dense core and pith can bog the motor. Cut it into quarters first, run cold water, and feed pieces in one at a time.
Why does the smell come back a week after I clean it?
Almost always because the underside of the splash guard was skipped. It's the one surface every scrap of food touches on the way down, and it never gets rinsed. If you cleaned the chamber but not the rubber flaps, you left the source behind.
Can I pour bleach down the disposal?
A small amount of diluted bleach occasionally won't hurt it, but it's the wrong tool. It hardens grease into the very film you're fighting and can dry out the rubber parts. Ice, salt, citrus, and a splash guard scrub work better and cost less. And never mix bleach with vinegar in the same session.
What foods make a disposal smell the worst?
Grease is the champion. It coats the chamber and goes rancid. Behind it: starchy loads (potato peels, rice, pasta) that paste onto the walls, and fibrous scraps (celery, corn husks, onion skins) that wrap the impellers and rot in place. Small amounts with plenty of cold water, or the trash can.
Related fixes
Laundry & Cleaning
Washing Machine Smells? Clean These 3 Spots (Gasket, Drum, Filter)
A musty front-loader means mold in the door gasket and a clogged drain filter. Clean all three problem spots in 30 minutes and keep the smell away.
Time30 min + one wash cycle Cost$0–$10 easy
Bathroom
Unclog a Slow Bathroom Sink in 15 Minutes, No Chemicals
A slow bathroom sink is almost always hair caught at the pop-up stopper. Pull it, clear it with a $4 zip tool, and clean the P-trap if needed.
Time15–30 min Cost$3–$5 easy