Remove Mold From Shower Caulk (Bleach Won't Do It)
Cover photo by Famartin via Wikimedia Commons, CC BY-SA 4.0, resized.
If this fix touches water, gas, or power, the guide starts with the shutoff step and says when a licensed pro should take over.
Product links in this guide are affiliate links. If you buy through one, we may earn a small commission at no extra cost to you. It never changes which products we recommend.
A humid summer leaves its mark along the bottom of the shower, and by August that thin line of caulk has gone from white to speckled gray to genuinely black. You scrub it, it looks better for a fortnight, and the spots come back in exactly the same spots. That pattern is the diagnosis: the mold is no longer sitting on the caulk, it is living inside it.
Quick Answer
To remove mold from shower caulk, do the wipe test first. Rub a black spot firmly with a cloth and bathroom cleaner: if it comes off, it is surface mildew and cleaning holds. If it stays put, the mold has rooted inside the silicone and no cleaner reaches it, because bleach is mostly water and only lifts the color. The real fix is to cut out every bit of the old caulk, dry the joint fully, and lay a fresh bead of 100 percent silicone with mildewcide. Materials run $12 to $30, the work takes two to three hours, and the caulk needs 24 hours of curing before the shower gets used again.
What You’ll Need
- A caulk removal tool or a sharp utility knife, around $8
- One hundred percent silicone kitchen and bath caulk, $8–$12 a tube, with mildewcide
- A caulk gun
- Rubbing alcohol and paper towels
- Painter’s tape for clean edges
- A fan, or a hair dryer, for drying the joint
Step-by-Step
Run the wipe test
Before you commit to two hours of work, find out which problem you have. Take a cloth with a bathroom cleaner and scrub one black area hard. Surface mildew comes away and leaves clean caulk behind, and if that happens across the whole run, you are done after a proper clean and better ventilation. Stains that stay put no matter how hard you scrub are rooted, and the rest of this article is for those.
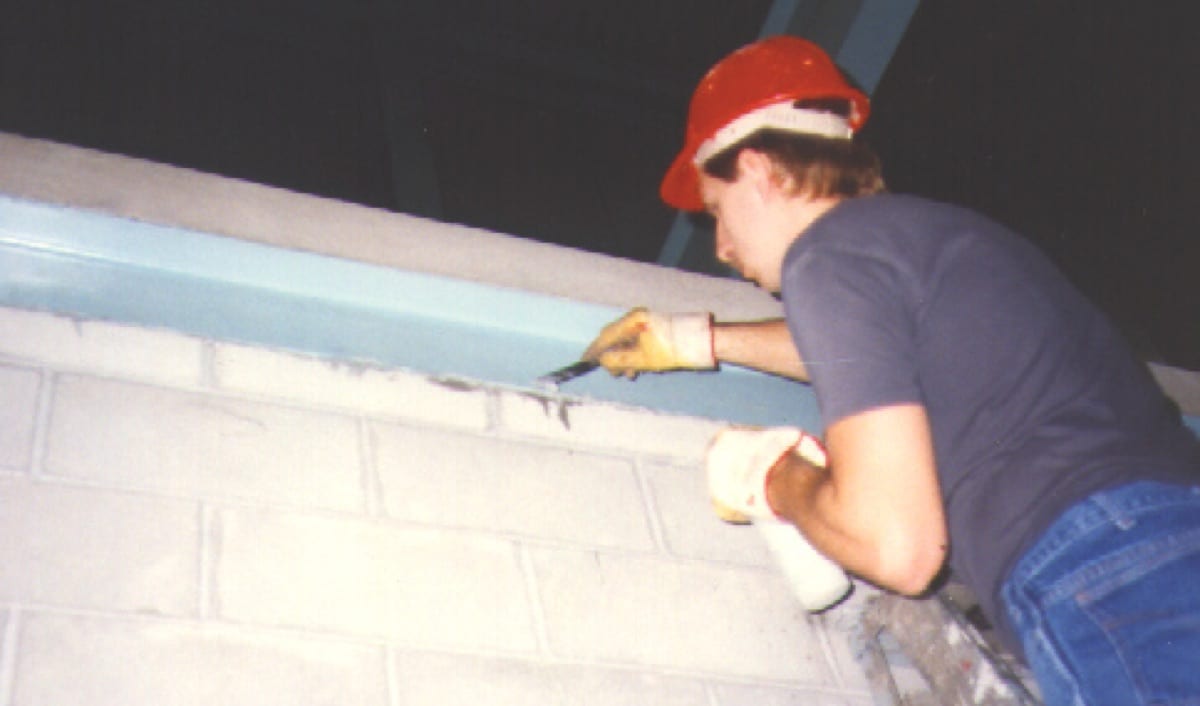 One steady pass, pushing the gun rather than pulling it, gives the bead an even profile. Photo by Achim Hering via Wikimedia Commons, CC BY 3.0, resized.
Try the poultice on borderline cases
If some spots lift and others don’t, one middle option is worth twenty minutes. Soak strips of paper towel or cotton coil in a bleach solution, press them directly onto the stained caulk, cover with plastic wrap to slow evaporation, and leave for several hours. Holding the chlorine in sustained contact does far more than a quick spray. Ventilate the room well while it sits, and never combine bleach with vinegar or an ammonia cleaner, since that produces genuinely dangerous gas.
Cut out all of the old caulk
Run the utility knife along both edges of the bead, top and bottom, keeping the blade against the tile and the tub rather than digging into either. Then pull the bead away in strips, using the removal tool or needle-nose pliers on stubborn sections. Get all of it. Any residue left behind is both a place mold survives and a surface new silicone will refuse to bond to, which is what causes a fresh bead to peel away in sheets a few months later.
Clean, disinfect, and dry the joint completely
Scrub the empty joint, then wipe it down with rubbing alcohol, which removes soap film and silicone residue and evaporates cleanly. Treat any visible mold on the substrate itself. Then dry the joint thoroughly, and give this real time: run a fan on it for a few hours, or work along it with a hair dryer. Silicone laid over a damp joint traps that moisture against the wall, which is how the new bead grows mold from behind within a season.
Tape the lines and lay the bead
Run painter’s tape along the tile and the tub, leaving a gap the width you want the finished bead to be. Cut the tube nozzle at 45 degrees, small at first since you can always cut it bigger, and lay a steady continuous bead pushing the gun rather than pulling it. Work in sections of three or four feet so the silicone stays workable, because it starts skinning over faster than you expect.
Tool the bead and pull the tape immediately
Wet a fingertip with soapy water and draw it along the bead in one smooth pass, pressing the silicone into the joint. Then pull the tape away while the caulk is still wet, pulling outward and away at a shallow angle. Tape removed after the silicone skins tears the edge you just made. Leave the shower unused for a full 24 hours, since silicone cures by reacting with humidity and a soaking before it sets ruins the seal.
Fix the reason it grew
Fresh caulk in a bathroom that stays wet will look like the old caulk soon enough. Run the exhaust fan during every shower and for twenty minutes after, which is the part almost everyone skips, and squeegee or towel the walls down. If the room has no fan, opening a window helps and installing one helps far more.
Time and Cost
| Fix | Time | Cost |
|---|---|---|
| Clean surface mildew | 20 min | $5 |
| Bleach poultice on stubborn spots | 20 min plus soak | $5 |
| Full removal and recaulk | 2–3 hrs plus 24 hr cure | $12–$30 |
| Handyman recaulk | 2 hrs | $150–$350 |
| Retile after long-term water damage | 2–4 days | $1,500+ |
Why This Works
Caulk looks solid but silicone has a slightly porous surface, and a shower supplies everything mold needs: constant moisture, warmth, and a food source in the soap scum and skin oils that settle in the joint. Once spores establish below the surface, they sit in a layer that liquid cleaners cannot reach, which is the whole reason bleach disappoints. Chlorine kills what it touches, and on a porous surface it touches only the top while the water it is carried in soaks further in. Removing the caulk removes the colony and its habitat together. Using 100 percent silicone rather than acrylic latex matters for the same reason, since latex absorbs water and gives the next colony somewhere to start.
Mistakes to Avoid
- Caulking over the old bead. New silicone does not stick to old silicone. It will peel, and you will have sealed the mold in behind it.
- Mixing bleach with vinegar or ammonia. Produces chlorine gas in an enclosed, poorly ventilated room. Pick one product and stick to it.
- Using acrylic latex caulk in a wet area. It smooths beautifully and fails within a year. Kitchen and bath silicone is the right material.
- Rushing the drying step. A joint that feels dry to the touch can still be damp underneath, and sealing that moisture in restarts the whole problem.
- Showering before the cure. Twenty four hours. Silicone needs humidity to cure but not a direct soaking, and a wet bead sets into a seal that leaks.
Bathrooms that grow mold in the caulk usually show the same humidity story elsewhere in the room. The chalky film on the glass is the mineral half of the same problem, covered in removing hard water stains from shower glass, and a shower head with narrowing spray holes is often clogged with the same deposits.
FAQ
Does bleach kill mold in caulk?
It removes the color, not the organism. Bleach is mostly water, and on porous silicone the water carries the mold deeper while the chlorine stays near the surface. That is why bleached caulk looks clean for two or three weeks and then the same black spots reappear in the same places. Once mold is rooted inside the caulk, replacing it is the only durable fix.
How do I know if the caulk needs replacing or just cleaning?
Wipe a black spot hard with a cloth and a bathroom cleaner. If it lifts off, that is surface mildew and cleaning will hold. If the spot stays put and looks like it is under the surface, the mold has colonized the caulk itself and no amount of scrubbing will reach it.
What kind of caulk should I use in a shower?
One hundred percent silicone labeled for kitchen and bath, with mildewcide. Acrylic latex caulk is easier to smooth and paintable, but it absorbs water and grows mold again within a year in a wet shower. Silicone stays flexible, sheds water, and lasts five years or more in the same spot.
Can I just caulk over the old caulk?
No, and it is the most common shortcut in this job. New silicone will not bond to old silicone, so the bead peels within months, and you have sealed the existing mold in behind a fresh layer where it keeps growing. Every bit of the old caulk has to come out first.
Related fixes
Bathroom
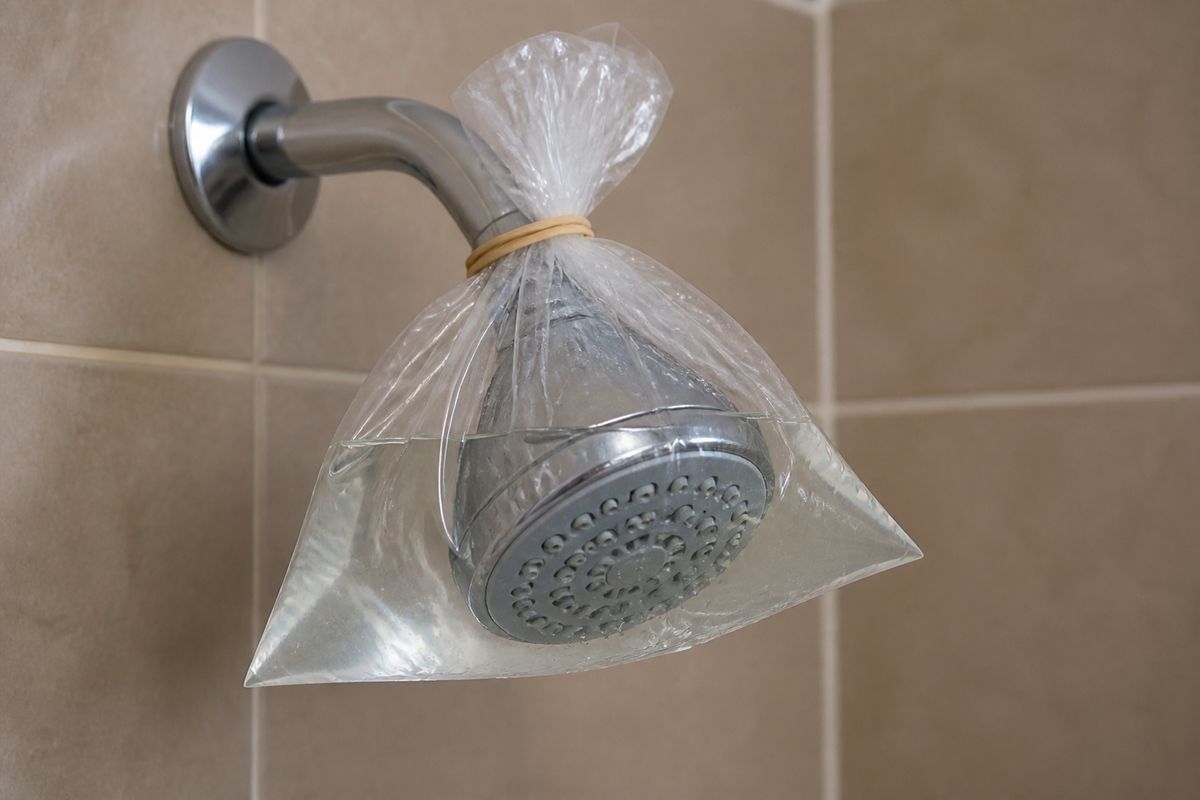
How to Clean a Shower Head With Vinegar
Clean a clogged shower head with vinegar in 90 minutes. Bag soak it, scrub nozzles, rinse the inlet screen, and restore spray without replacing parts.
Time10 min active + 1–2 hr soak Cost$2–$5 easy



Bathroom
Remove Hard Water Stains from Shower Glass (What Actually Works)
Hard water stains come off shower glass with warm vinegar and dish soap, if the glass isn't etched. How to tell the difference and what works for each.
Time30 min Cost$4–$15 easy