Low Shower Water Pressure? Fix It in One Evening
If this fix touches water, gas, or power, the guide starts with the shutoff step and says when a licensed pro should take over.
Product links in this guide are affiliate links. If you buy through one, we may earn a small commission at no extra cost to you. It never changes which products we recommend.
Shower pressure rarely dies suddenly. It fades so slowly you don’t notice until you shower somewhere else and come home wondering what happened to yours. Before blaming the building’s pipes, look at the fitting six inches from your face. That’s the culprit far more often than anything in the wall.
Quick Answer
If only the shower is weak and sinks in the same bathroom run fine, the problem is almost certainly mineral scale inside the shower head. Soak the head in a 50/50 vinegar-and-water mix for one to two hours, clear the nozzles, and rinse the little inlet screen inside the connection. If you only need the cleaning steps, use how to clean a shower head. If the whole bathroom or the whole house is weak, the head is innocent: that’s a valve, regulator, or supply problem, and this article tells you how to tell the difference.
What You’ll Need
- White vinegar and a container, or a sturdy plastic bag, a rubber band, and a zip tie for the no-removal version
- An adjustable wrench and a cloth (to protect the finish), if you remove the head
- An old toothbrush and a toothpick
- Thread seal (PTFE) tape, $1–$2, for reassembly (see what PTFE tape does)
Step-by-Step
Establish the scope
Run the bathroom sink, then another fixture elsewhere in the home. Just the shower weak means you can continue. Whole bathroom weak means you should check for a partially closed shutoff valve feeding it. Whole house weak points to a pressure regulator or supply issue. That’s diagnosis, not DIY repair, and it’s fine to stop here and call.
The no-removal option: bag soak
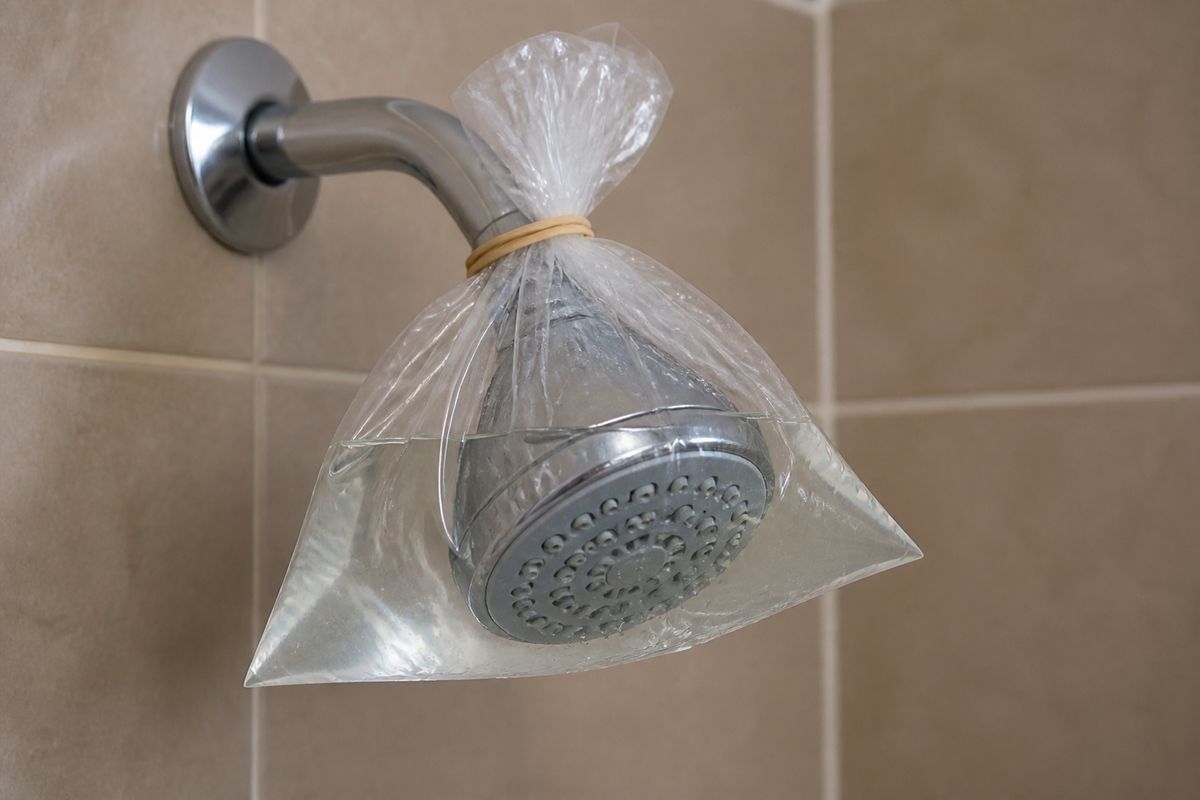
Fill a bag with 50/50 vinegar and water, submerge the shower head’s face in it, and secure it to the arm with the rubber band or zip tie. Leave it one to two hours, not overnight: extended acid contact dulls plated finishes like brushed nickel and oil-rubbed bronze. Remove, run hot water for a minute, and scrub the nozzles with the toothbrush.
The thorough option: remove and soak
Wrap the cloth around the connection nut, and turn counterclockwise with the wrench. Soak the whole head in the vinegar mix, then brush the faceplate, poke cleared nozzles with the toothpick, and rinse water backward through the head.
Check the inlet screen
Inside the head’s connection nut sits a small filter screen (often with a rubber washer). It catches pipe debris, and it clogs. Pull it out gently, rinse it clean, and reseat it with the washer in place. A missing washer is tomorrow’s drip.
Re-tape and reassemble
Remove the old thread tape from the shower arm, then wrap two to three turns of fresh tape in the direction the nut will tighten (clockwise as you look at the end of the arm). Hand-tighten the head, then a gentle quarter turn with the cloth-wrapped wrench. Run the shower and check the connection for drips.
Time and Cost
| Path | Time | Cost |
|---|---|---|
| Bag soak, no removal | 5 min active + soak | ~$2 of vinegar |
| Full removal and clean | 20 min active + soak | $2–$4 |
| Replacement head, if it’s past saving | 15 min | $20–$25 for a solid basic head |
Why This Works
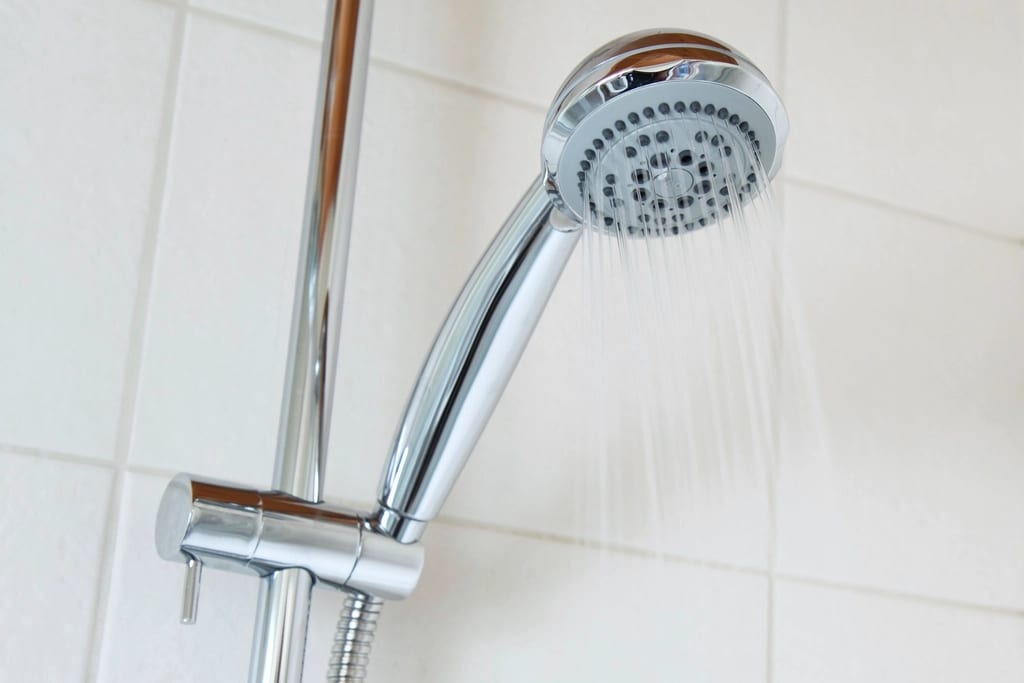
 Full, even spray from every nozzle: what a descaled head looks like.
Every drop that evaporates at a nozzle opening leaves calcium and magnesium carbonate behind, and the openings are the narrowest point in the whole water path, so that’s where flow dies first. Acetic acid dissolves carbonate scale. The soak simply gives it contact time. It’s the same deposit that films your shower glass and crusts toilet fill hardware. Hard water taxes every fixture it touches, this one just shows it fastest.
Mistakes to Avoid
- Bare wrench jaws on the finish. Chrome and nickel scratch instantly. Cloth first, always.
- Overnight soaks on plated finishes. The scale is gone in two hours. After that the acid only has your finish to work on.
- Losing or skipping the inlet screen washer. Reassembling without it turns a clean job into a leak hunt.
- Taping over old tape. Shredded old PTFE keeps the new wrap from sealing. Strip the threads clean first.
The same mineral logic applies one room over: a dripping kitchen faucet is usually a $10 seal that scale finished off.
If the complaint is really temperature rather than flow, the tank is the place to look. A sudden total loss of hot water usually comes down to a reset button or a pilot light rather than a failed heater.
FAQ
Only the hot water is weak. Is that still the shower head?
No. A clogged head restricts hot and cold equally. Hot-only weakness points to the shower's mixing valve cartridge or to sediment in the water heater. The cartridge is a doable DIY job but specific to your faucet model. Heater sediment means it's time to flush the tank.
My pressure dropped suddenly, not gradually. What does that mean?
Scale builds gradually. A sudden drop means something changed: a shutoff valve got bumped, a pressure regulator is failing, or a pipe is leaking. Check other fixtures. If the whole house is weak, look at the regulator and your water meter (movement with everything off means a leak).
Can I just remove the flow restrictor?
Restrictors exist to meet plumbing efficiency codes, and pulling one can void the shower head's warranty. In most weak showers the restrictor isn't the problem anyway. It's scale around it. Pop it out, rinse the debris, and put it back. That usually restores the flow you were missing.
How often should I clean the shower head in a hard-water area?
A bag soak every 2–3 months keeps it at full flow. If you can see white crust on the nozzles, you're overdue. Silicone-nozzle heads buy you time: rub your thumb across the nozzles weekly to crack scale off.
Related fixes
Bathroom
How to Clean a Shower Head With Vinegar
Clean a clogged shower head with vinegar in 90 minutes. Bag soak it, scrub nozzles, rinse the inlet screen, and restore spray without replacing parts.
Time10 min active + 1–2 hr soak Cost$2–$5 easy
Bathroom
How to Fix a Running Toilet in 15 Minutes (No Plumber)
A running toilet is usually a worn flapper or misadjusted float. Diagnose it with a dye test and fix it yourself in 15 minutes for under $12.
Time15–30 min Cost$5–$18 easy

Bathroom
Remove Hard Water Stains from Shower Glass (What Actually Works)
Hard water stains come off shower glass with warm vinegar and dish soap, if the glass isn't etched. How to tell the difference and what works for each.
Time30 min Cost$4–$15 easy