How to Replace a Light Switch Safely in 20 Minutes
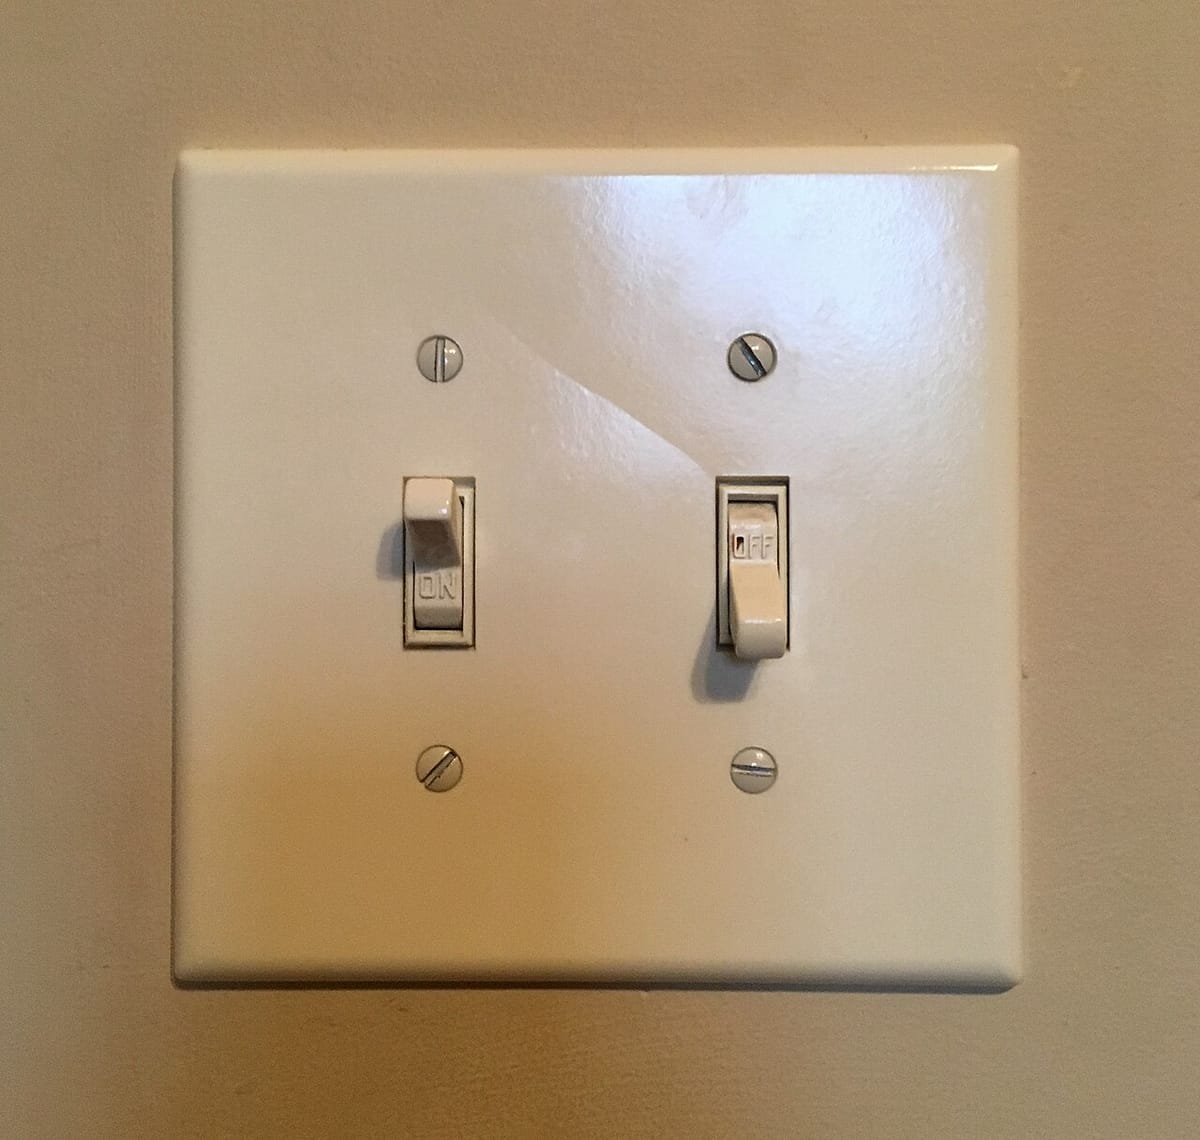
Cover photo by Freekhou5 via Wikimedia Commons, CC BY-SA 4.0, resized.
If this fix touches water, gas, or power, the guide starts with the shutoff step and says when a licensed pro should take over.
Product links in this guide are affiliate links. If you buy through one, we may earn a small commission at no extra cost to you. It never changes which products we recommend.
The switch by the door has gotten mushy, or it clicks and the light comes on only when you hold it just so. A worn switch is a $3 part and the simplest electrical job in a house. It’s also the one where people skip the step that matters, which is proving the wires are dead before you touch them. Everything after that is two screws.
Quick Answer
Here’s how to replace a light switch: turn off the circuit at the breaker panel, then hold a non-contact voltage tester against the switch’s terminals and confirm it stays silent. Remove the plate and the two mounting screws, pull the switch out, and photograph the wiring. A standard single-pole switch has two wires on brass screws and a bare ground on a green screw. Move each wire to the same position on the new switch, hooking it clockwise under the screw so tightening pulls it in, fold the wires back into the box, mount the switch, and restore power. Twenty minutes, $3 to $6 for the switch, $15 to $25 if you’re upgrading to a dimmer. Stop and call an electrician if you find aluminum wiring (dull silver, with “AL” printed on the cable jacket), scorched insulation, or more wires than the switch has screws.
What You’ll Need
- A single-pole light switch, $3–$6 (match the style, toggle or rocker, and 15 amp is standard for lighting)
- A non-contact voltage tester, $15–$25, the one tool that makes this job safe
- A flathead and a Phillips screwdriver
- Needle-nose pliers for bending the hook in each wire
- A roll of electrical tape
- Wire nuts, $5, only if a wire breaks and needs a pigtail
Step-by-Step
Kill the breaker and prove it
Find the breaker for the room (the panel legend, or flip breakers while someone watches the light) and switch it off. Put a strip of tape over the handle. Back at the switch, flip it on and off: the light should stay dead. Then remove the plate, hold the voltage tester against each screw terminal and against the wires entering the box. Silence means dead. A chirp means you have the wrong breaker, or the box carries a second circuit, which happens in older houses. Keep flipping breakers until the tester goes quiet at every wire.
Pull the switch and photograph it
Unscrew the two mounting screws and ease the switch out by its metal strap, never by the wires. Take a clear photo. Then count. Two insulated wires on side screws plus a bare ground is a single-pole switch, and this guide covers it. Three insulated wires with one on a dark “common” screw is a three-way switch (two switches control one light): replace it with a three-way and label the common wire with tape before you move anything. Four insulated wires is a four-way switch, which is worth a careful look at the manufacturer’s diagram before you go further.
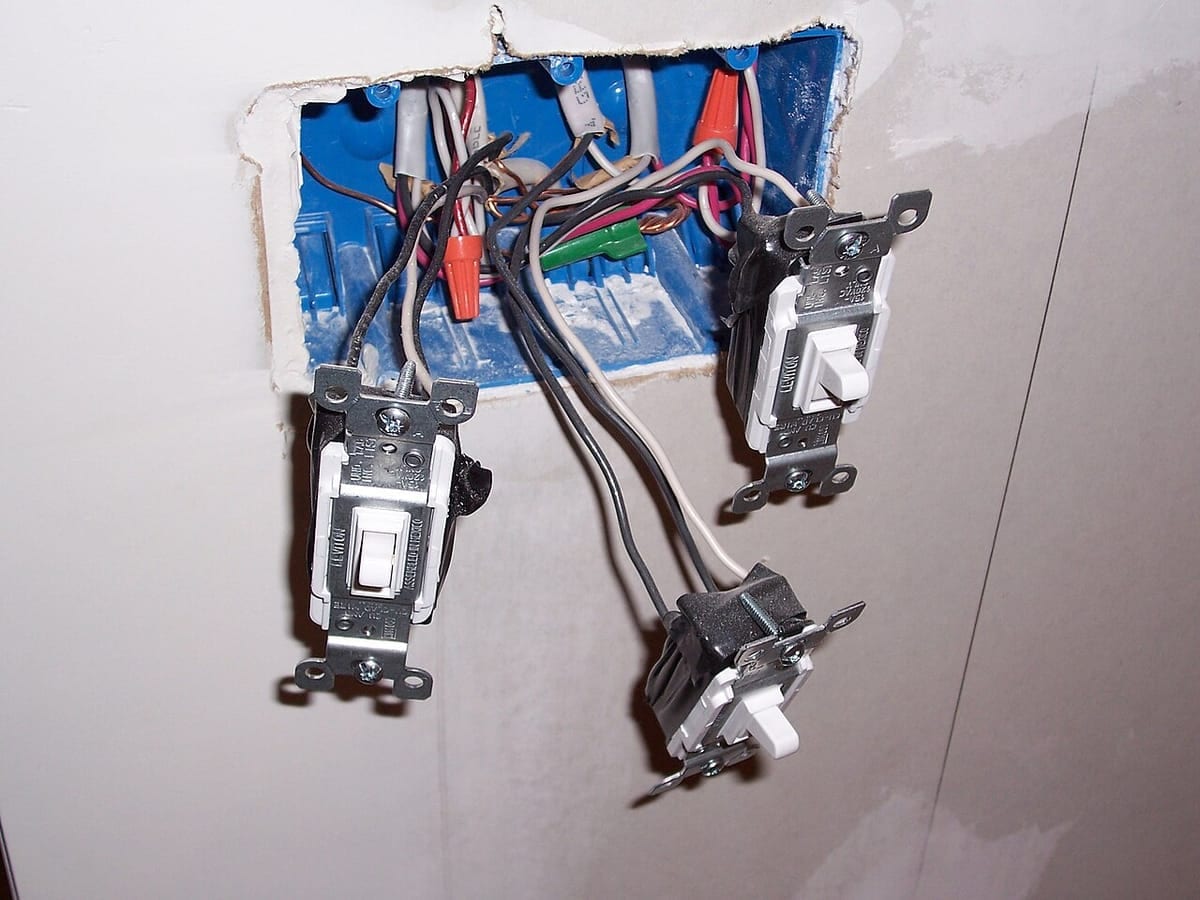 Switches pulled from a three-gang box. Count the insulated wires on each one and photograph it before you disconnect anything. Photo by Paul Cutler via Wikimedia Commons, CC BY 2.0, resized.
Check the wiring before you trust it
Look at the wire itself. Copper is the normal case. Dull silver wire with “AL” or “ALUMINUM” on the cable jacket is aluminum branch wiring, common in homes built from about 1965 to 1973, and it needs switches marked CO/ALR and special connections. That’s an electrician’s job, and worth the service call. Also look for brown or melted insulation and any wire that’s nicked. If the wires are pushed into holes in the back of the old switch (backstabbed) rather than wrapped around the screws, press a small flathead into the release slot beside each hole to free them, or just cut them at the switch and strip 3/4 inch of fresh insulation.
Move the wires to the new switch
One at a time, so nothing gets mixed up: loosen the old screw, lift the wire off, bend the bare end into a hook with the pliers, and set it under the matching screw on the new switch with the hook running clockwise. Tighten firmly. The clockwise hook matters because tightening the screw pulls the loop closed instead of pushing it off. Ground goes on the green screw. If a wire is too short to hook comfortably, add a 6-inch pigtail of the same gauge with a wire nut. A properly tightened terminal doesn’t move when you tug the wire.
Fold, mount, and test
Fold the wires into the box in a zigzag so they don’t crush against the switch’s terminals, push the switch in, and drive the mounting screws. If the switch sits crooked, the slotted holes on the strap let you straighten it. Put the plate on, pull the tape off the breaker, flip it, and test the switch. The light should come on with a firm click and go off the same way, with no flicker or buzz. A dimmer that buzzes with LED bulbs is the wrong dimmer, not a wiring mistake.
Time and Cost
| Fix | Time | Cost |
|---|---|---|
| Replace a single-pole switch | 20 min | $3–$6 |
| Upgrade to an LED-rated dimmer | 25 min | $15–$25 |
| Replace a three-way switch | 30 min | $8–$12 |
| Electrician replaces a switch | — | $100–$200 |
Why This Works
A single-pole switch is nothing more than a gate on the hot wire. Power comes in on one terminal, leaves on the other when the contacts close, and the light’s own neutral never passes through the switch. That’s why the two brass terminals are interchangeable and why there’s no neutral to worry about on a basic switch. The failure you’re fixing is mechanical: the spring contact inside wears, pits, and starts arcing every time it closes, which is the mushy feel and the occasional flicker. An arcing contact is a bad connection in series, not a fault to ground, so a GFCI or a breaker never sees it. Replacing the switch replaces the contact, and the clockwise hook under a tight screw is what keeps the new connection from loosening and arcing the same way.
Mistakes to Avoid
- Trusting the switch position instead of the tester. A switch that’s off still has a live wire on one screw. Test every wire in the box, not just the switch.
- Hooking the wire counterclockwise. Tightening the screw then pushes the loop open, leaving a loose connection that heats up. Clockwise, every time.
- Using the push-in backstab holes on the new switch. The spring contacts in those holes are the reason the old switch died. Use the screws.
- Buying a dimmer that isn’t rated for LED bulbs. Incandescent-era dimmers give LEDs a flicker and a hum. The package says “LED compatible” or “CL” if it’s right. Flickering that starts after a dimmer swap is nearly always this.
If the light still doesn’t come on with a new switch, work backward: a dead outlet on the same circuit or a tripped breaker means the problem was never the switch.
FAQ
Do I need to turn off the breaker to replace a light switch?
Yes, every time, and then prove it with a non-contact voltage tester at the switch before touching a wire. The wall plate and the switch's own position tell you nothing about whether the wires are live. A switch that's off still has a hot wire on one terminal. Flip the breaker, test, and tape the breaker handle so nobody flips it back while you work.
What if my light switch has three wires on it?
Two wires on brass screws plus a bare or green ground is a normal single-pole switch. Three insulated wires on three screws, one of them a darker common screw, is a three-way switch that controls the light from two locations. You can replace it with another three-way, but label the wire on the common screw before you remove it, because putting it on the wrong terminal makes the pair of switches behave oddly.
Which wire goes where on a single-pole light switch?
It doesn't matter which of the two hot wires goes on which brass screw. A single-pole switch is just a gate in one wire, so the two terminals are interchangeable. The only wire with a required spot is the ground, which goes on the green screw. If one of the two wires is white, that's a switch loop and the white is acting as a hot. Wrap it with black tape so the next person knows.
Can I replace a light switch with a dimmer?
Usually, if the switch is single-pole and the bulbs are dimmable. Buy a dimmer rated for LED if the fixture uses LED bulbs, since an old incandescent-only dimmer makes LEDs flicker and buzz. Most dimmers wire the same way as a switch, with two leads and a ground, and the instructions name the few models that need a neutral wire in the box.
Related fixes
Electrical
How to Fix a Dead Outlet Before Calling an Electrician
A dead outlet is often a tripped GFCI, breaker, or switched receptacle. Check the safe resets first, then know when wiring needs a pro visit.
Time5–15 min Cost$0–$12 easy
Electrical
Lights Flickering? One Bulb Is Fine, the Whole House Isn't
Flicker in one fixture is usually a loose bulb or a dimmer that hates LEDs. Flicker across the whole house is a warning worth calling about today.
Time15–45 min Cost$0–$30 easy


Electrical
How to Reset a Tripped Breaker the Right Way
A tripped breaker often looks like it's still on. Push it fully to off first, then back on, and learn the difference between a nuisance trip and overload.
Time5–10 min Cost$0–$15 easy