Patch a Hole in Drywall (Doorknob, Fist, or Anchor Size)
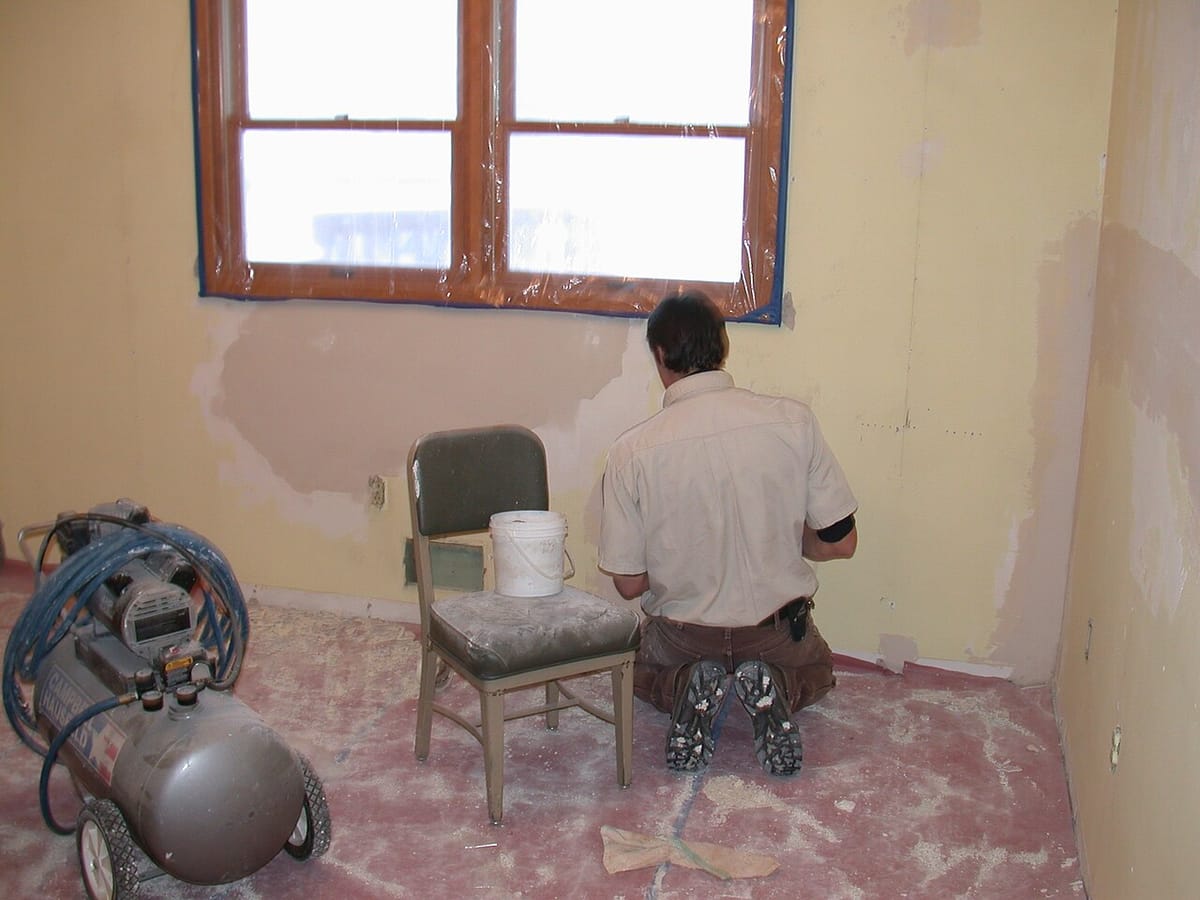
Cover photo by USFWS Mountain-Prairie via Wikimedia Commons, public domain, resized.
If this fix touches water, gas, or power, the guide starts with the shutoff step and says when a licensed pro should take over.
Product links in this guide are affiliate links. If you buy through one, we may earn a small commission at no extra cost to you. It never changes which products we recommend.
A doorknob through the drywall, a failed anchor that took a chunk with it, a mystery hole behind where the bookcase used to stand. Drywall repair has a reputation for being tricky, and honestly the patching part is easy. What separates an invisible repair from an obvious one is picking the right method for the size and then having the patience to put on three thin coats instead of one thick one.
Quick Answer
Size picks the method for patching a hole in drywall. Under half an inch is just spackle and takes minutes. Up to about four inches, cover the hole with a self-adhesive mesh patch and build over it with joint compound. Larger than four inches needs support behind the wall: either scraps of wood screwed inside the opening as backing, or a cut drywall plug. Whatever the size, apply three thin coats, each one wider than the last, sanding lightly between, and feather the edges out eight to ten inches so nothing casts a shadow. Prime before painting or the patch flashes. Materials run $10 to $35.
What You’ll Need
- A self-adhesive mesh drywall patch, about $6 for a pack
- Joint compound, $10–$15 for a small tub
- A drywall taping knife set, $12–$20, with a 6-inch and a 10-inch blade
- Fine sanding sponge, 120 to 150 grit
- Primer, and paint matched to the wall
- A utility knife, and a scrap of drywall for larger holes
Step-by-Step
Clean up the hole before patching it
Trim away loose paper, crumbling gypsum, and anything hanging into the opening with a utility knife, cutting back to solid material. A patch built over torn paper edges telegraphs every one of them through the finished surface. For a doorknob hole, this usually means cutting the ragged crater back into a neat square or circle, which feels like making it bigger and makes the repair far easier.
Small holes: mesh patch and build
Center the self-adhesive mesh over the opening and press it flat, making sure it sticks to sound wall all the way around. Load a 6-inch knife with joint compound and press a thin coat through the mesh, filling the weave rather than burying it. The goal on this first coat is contact and adhesion, not coverage. It should still look like a patch when you walk away.
Large holes: give it something to land on
For anything over four inches, the patch needs backing. The simple approach: cut a piece of scrap wood or a paint stirrer a few inches longer than the hole, slip it inside the cavity, and pull it tight against the back of the drywall while you drive a screw through the wall into it at each end. That gives you a solid edge on both sides. Then cut a drywall plug to fit the opening, screw it to the backing, and tape the seams before compounding. Check for wiring or pipes before you push anything into a wall cavity or drive a screw blind.
Second coat, wider
Once the first coat is fully dry, knock down any ridges with the sanding sponge and apply a second coat with the wider knife, extending three or four inches past the first in every direction. Hold the blade at a low angle and pull in one smooth stroke. Ridges you leave now are sanding you do later, and sanding joint compound produces a fine dust that gets into everything in the room.
Third coat, wider still, then sand
The final coat goes on thin and wide, feathered so the outer edge is almost nothing. Feathering is the whole trick to an invisible patch: the repair is not hidden by matching the wall exactly, it is hidden by having no detectable edge where it ends. Once it is dry, sand lightly with the sponge, working in circles and stopping the moment it is smooth. Then run your hand over it with your eyes closed, which finds high spots far better than looking does. Better still, hold a work light flat against the wall so it rakes across the surface and throws a shadow off anything proud.
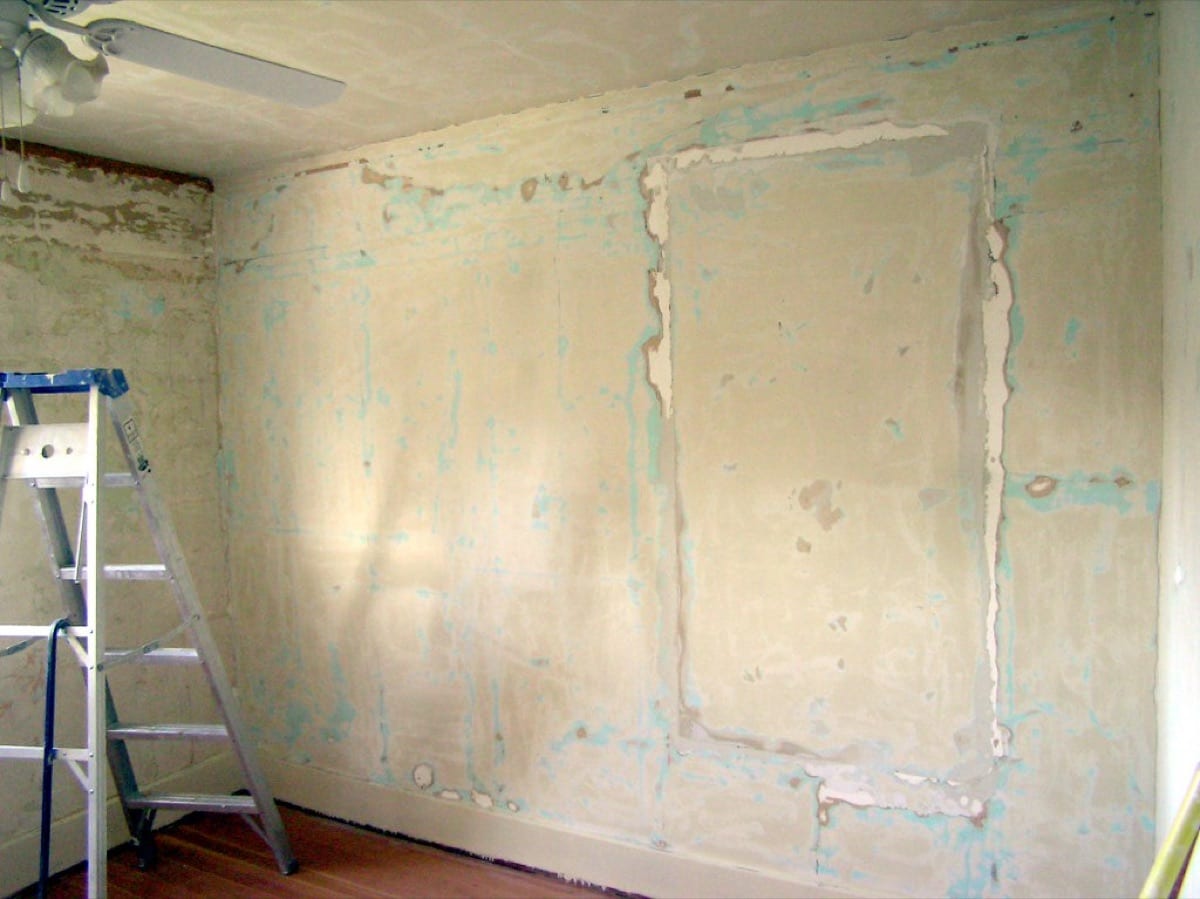 A large patch feathered out into the wall around it. The repair disappears because the edge does, not because the filler matched. Photo by Qole Pejorian via Flickr, CC BY 2.0, resized.
Prime, then paint
Prime the patched area and let it dry before topcoat. Bare joint compound is much more absorbent than the painted wall around it, so paint applied straight onto it soaks in, dries flatter, and leaves a dull halo that is visible from across the room even in a perfect color match. If the wall has a texture, match it before priming, using a spray texture can or by stippling compound with a sponge, and practice on cardboard first.
Time and Cost
| Fix | Time | Cost |
|---|---|---|
| Mesh patch, small hole | 1 hr over 2 days | $10–$20 |
| Backed plug, large hole | 2 hrs over 2 days | $20–$35 |
| Texture match and paint | 1 hr | $15–$30 |
| Handyman patch repair | 1–2 hrs | $150–$300 |
Why This Works
Drywall is a gypsum core between two sheets of paper, and the paper is what carries the strength. That is why a hole is weak at its edges and why a patch has to bridge onto sound material rather than just fill a void. Mesh tape works because compound keys through the weave and locks into it, forming a rigid layer that spans the gap. Above roughly four inches that span flexes under a press of the thumb, and joint compound is brittle, so it cracks along the edge, which is exactly why bigger holes need something solid behind them. The three-coat rule comes from shrinkage: compound is mostly water, and it pulls back as it dries. Thin layers shrink a negligible amount, while a thick one shrinks enough to crack itself down the middle.
Mistakes to Avoid
- Filling the hole with one thick load of compound. It cracks as it dries, every time, and the crack goes right through the middle of your repair.
- Skipping primer. The single most common reason a technically good patch is still obvious once the paint dries.
- Feathering too narrow. A patch with a hard edge at four inches catches light and shows. Take the last coat out to eight or ten.
- Pushing backing into a wall without checking. Wiring and plumbing live in those cavities, and a screw driven blind finds them eventually.
- Sanding too aggressively. It is easy to cut through the compound and fuzz up the paper face, which then needs another coat to fix.
For the smaller version of this job, the kind that comes up on a move-out weekend, the method is simpler and faster and covered in patching nail holes in drywall. And if the hole came from a door swinging into the wall, a stop or a bumper solves the cause, while a door that also sticks or won’t latch has a different fix worth doing at the same time.
FAQ
What size hole can you fix with a mesh patch?
Up to about four inches across. A self-adhesive mesh patch spans the opening and gives the joint compound something to grip, which works fine at that scale. Beyond four inches the patch flexes when pressed and the compound cracks, so a larger hole needs either a backer board behind it or a proper drywall plug.
How many coats of joint compound does a patch need?
Three thin ones, not one thick one. Each coat goes on wider than the last, sanding lightly between, so the repair fades into the wall over eight to ten inches. A single heavy coat shrinks as it dries, cracks down the middle, and leaves a visible bulge no amount of sanding removes.
Do I have to prime a drywall patch before painting?
Yes, and skipping it is the most common reason a patch shows through. Fresh joint compound is far more porous than the painted wall around it, so it absorbs paint differently and dries to a duller sheen. That flat spot is visible from across the room even when the color matches perfectly.
How long does joint compound take to dry?
Standard premixed compound needs 12 to 24 hours per coat depending on thickness and humidity, so a three-coat repair spans a couple of days. Setting-type compound sold as 20 or 45 minute mud cures chemically on that schedule and lets you finish a patch in an afternoon, at the cost of being harder to sand.
Related fixes
Walls, Doors & Floors
How to Fix a Sticking Door (Tighten the Hinges First)
Most sticking doors are sagging, not swollen. One long screw in the top hinge pulls the door back square, and it costs about fifty cents to try.
Time20–60 min Cost$0–$15 easy
.jpg)
Walls, Doors & Floors
Patch Nail Holes in Drywall Before Move-Out (10 Minutes, $8)
Spackle, a putty knife, and fine sandpaper make nail holes disappear. The exact steps, drying times, and how to handle paint that doesn't match.
Time10 min per room + drying Cost$8–$12 easy