How to Fix a Leak Under the Kitchen Sink in One Evening
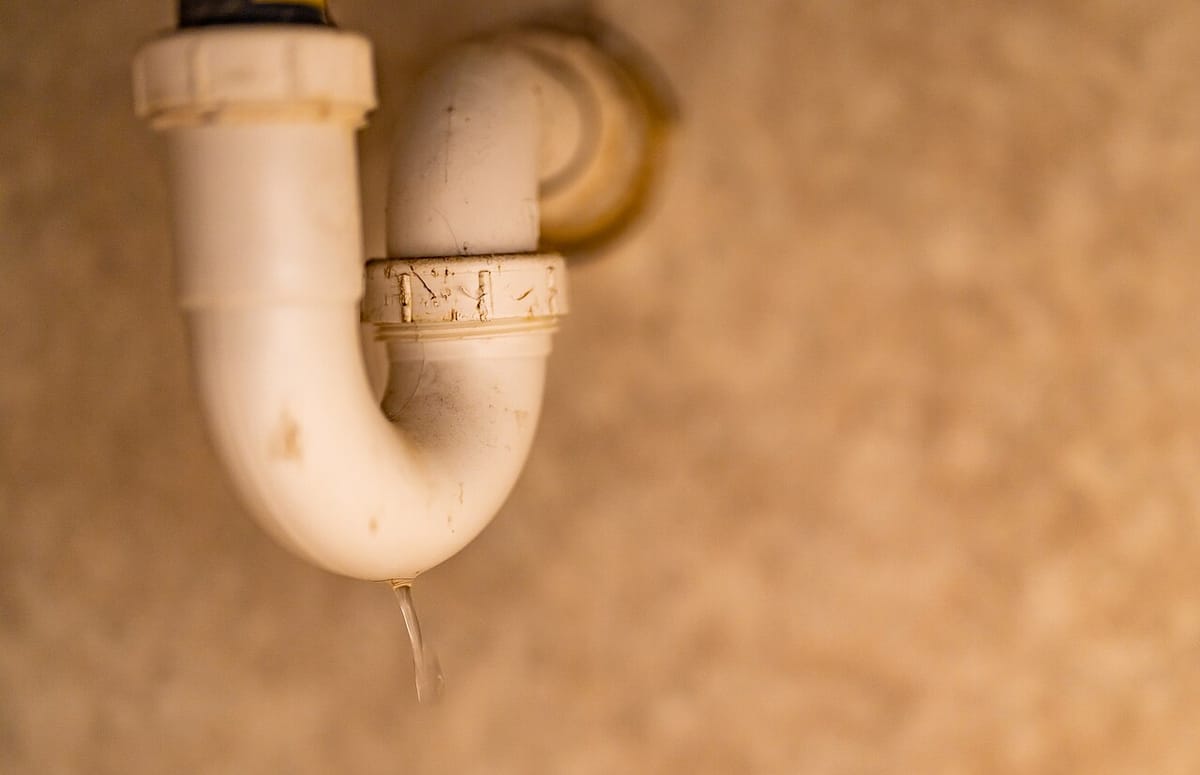
Cover photo by Tony Webster via Wikimedia Commons, CC BY 2.0, resized.
If this fix touches water, gas, or power, the guide starts with the shutoff step and says when a licensed pro should take over.
Product links in this guide are affiliate links. If you buy through one, we may earn a small commission at no extra cost to you. It never changes which products we recommend.
You reach under the sink for the dish soap and the bottom of the cabinet is soft, swollen, and smells like a basement. Nothing is visibly pouring. That’s the normal version of this problem: a slow drip from one of about eight joints, and it only shows up when the sink is used a certain way. Finding the joint is the whole job. The fix is usually a washer or a hand-tightened nut.
Quick Answer
To fix a leak under the kitchen sink, dry every pipe and fitting with a towel, lay dry paper towels on the cabinet floor, and run four tests in order. Leave the faucet off for 15 minutes: a wet spot means a supply line or a shutoff valve. Run the faucet into the open drain: wet at the top means the faucet body or sprayer hose. Fill the basin and pull the stopper: a drip now is the basket strainer or a P-trap slip joint. Run the dishwasher: wet means the drain hose or its clamp. A slip joint gets a new washer and a hand-tight nut, a strainer gets fresh plumber’s putty, and a supply line is replaced outright for $8 to $15. A shutoff valve that drips from its stem, and a disposal leaking from its body seam, are the two pro points.
What You’ll Need
- Towels and a roll of paper towels for the leak test
- A flashlight (your phone is fine)
- Slip-joint washers, $5–$8 for a kit that fits 1-1/2 inch kitchen traps
- Plumber’s putty, $3–$5, for a leaking basket strainer
- A braided stainless supply line, $8–$15, if a supply hose is the source
- Channel-lock pliers, and a basin wrench ($12) only if the faucet nuts turn out to be the problem
Step-by-Step
Dry everything and set the paper-towel trap
Empty the cabinet. Towel off every pipe, nut, hose, and the underside of the sink until it’s bone dry, then lay a single layer of paper towels across the cabinet floor. A drip now lands as a dot you can trace upward. This takes five minutes, and it’s the difference between finding the leak tonight and replacing the cabinet floor next year.
Test with the faucet off
Walk away for 15 minutes with the water untouched. Come back with the flashlight. A wet spot means something under constant pressure is leaking: the two shutoff valves, the braided supply lines, or the nuts where those lines meet the faucet tailpieces. Run a dry finger along each supply line from valve to faucet. Water tracks downhill along a hose, so the wet spot is often below the real source. A weeping shutoff stem can sometimes be stopped by snugging its packing nut an eighth of a turn. If it keeps dripping, that valve is the pro call unless you’re comfortable shutting off the house water and replacing a compression valve yourself.
Run the faucet into an open drain
Turn the faucet on full and let it run straight down the drain for a minute, swinging the spout side to side and pulling the sprayer if there is one. Wet now, with the drain not under load, points at the faucet: the base gasket, the sprayer hose where it runs inside the faucet body, or the connections at the tailpieces. A pull-down sprayer hose that drips only when the sprayer is used is a known failure and replaces as a part. A faucet base leaking down through the sink hole is covered in the leaky faucet guide.
Fill the basin and dump it
Plug the drain, fill the basin almost full, and pull the plug. That dumps ten gallons through the drain assembly in one shot, which is the load that opens up a marginal joint. Watch the basket strainer where it meets the sink, the tailpiece nut, the P-trap’s two slip nuts, and the disposal’s connections. A drip at a slip nut almost always means the washer inside has flattened or the nut was cross-threaded. Loosen it, seat the beveled washer with the taper toward the joint, and tighten by hand plus a quarter turn. A drip from the strainer’s rim means the putty has dried out: unscrew the strainer locknut from below, lift the strainer, roll a fresh rope of putty under the flange, and reseat it.
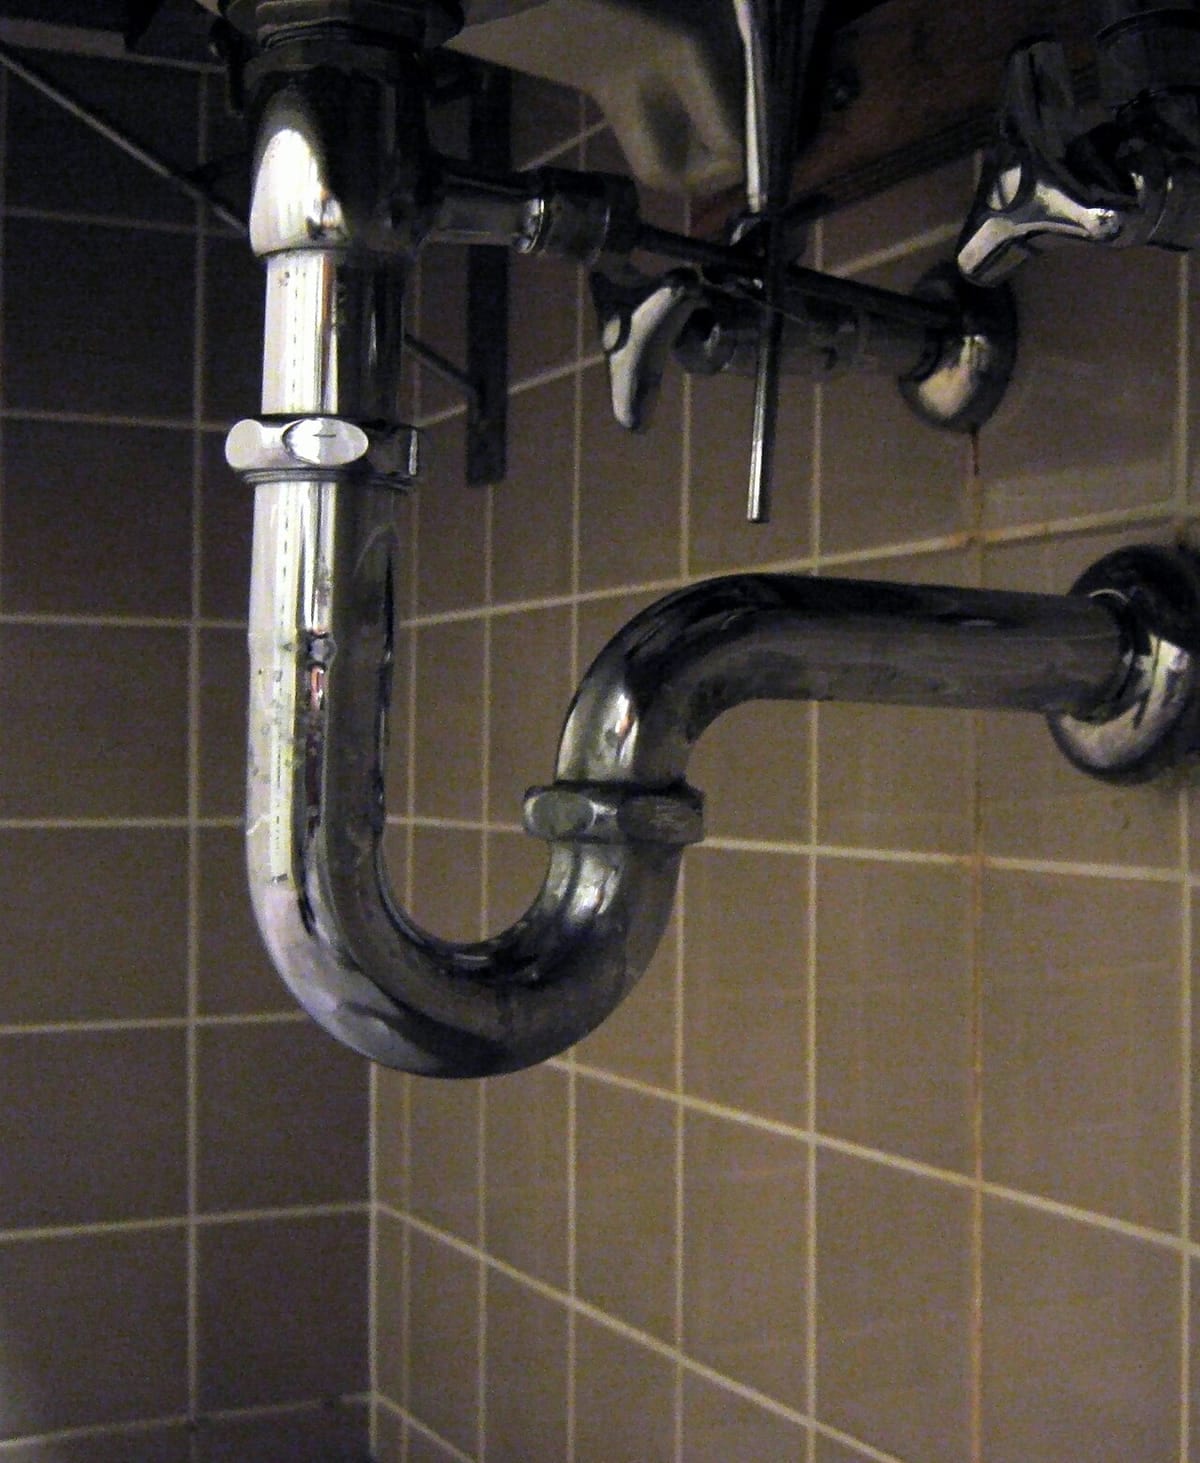 The P-trap assembly: tailpiece down from the sink, two slip nuts on the U-bend, and the trap arm into the wall. Each nut hides a tapered washer. Photo by mariemon via Wikimedia Commons, CC BY 3.0, resized.
Run the dishwasher and watch the hose
Start a rinse cycle and wait for the drain pump to kick in, usually a few minutes in. Water appearing now is the dishwasher drain hose: its clamp on the disposal inlet, a cracked hose, or a loose air gap. Reseat the hose and tighten the clamp. A hose that’s gone stiff and cracked at the clamp gets cut back an inch and reclamped, or replaced for $10. If the disposal itself is wet along its body seam rather than at a connection, the internal seal has failed and the unit gets replaced. Read the disposal guide before buying, since a leak from the seam sometimes starts as a jam that was forced.
Time and Cost
| Fix | Time | Cost |
|---|---|---|
| Leak test, all four stages | 20 min | $0 |
| Slip-joint washer and nut | 10 min | $0–$8 |
| Re-putty the basket strainer | 20 min | $3–$5 |
| Replace a supply line | 15 min | $8–$15 |
| Plumber finds and fixes the leak | — | $150–$300 |
Why This Works
Every joint under a sink is sealed by compressing a soft part, not by threads. A P-trap slip nut squeezes a tapered washer against the pipe, a basket strainer squeezes plumber’s putty between its flange and the sink, and a braided supply line seats a rubber cone into the faucet shank. The soft part ages, flattens, or shifts, and the seal opens by a hair. That’s why the leak shows up only under a specific load: the drain joints see water only when the basin empties, the faucet joints only when it runs, and the supply joints all the time. Testing each load separately is just asking one group of joints at a time to fail in front of you. PTFE tape never enters the picture here, because none of these are tapered pipe threads.
Mistakes to Avoid
- Wrapping PTFE tape on slip-nut threads. The washer makes the seal, not the threads. Tape between the nut and pipe keeps the nut from seating evenly and makes the leak worse. Save the tape for tapered threads like a shower arm.
- Tightening the first wet nut you see. Water runs along pipes and drips off at the lowest point, which is rarely the source. Dry, test, trace upward.
- Reusing an old supply line because it looks fine. Braided lines fail from the inside, and the ones with a plastic nut crack with age. At $8 to $15, a line older than ten years gets replaced on sight while you’re already under there.
- Ignoring a swollen cabinet floor. Particleboard that has swelled won’t dry flat and will grow mold. Once the leak is fixed, dry it with a fan for a few days, then cover it with a cut-to-fit rubber mat or replace the panel.
A sink that drains slowly and leaks at the trap often has one cause, a grease plug that forces water to sit in the joints. The kitchen sink unclogging guide covers pulling the trap, and a dishwasher that won’t drain is the other half of the drain-hose story.
FAQ
Why is my kitchen sink leaking underneath only when I run the water?
Because the leak is on the drain side, which only carries water when the sink is in use. The usual spots are the P-trap slip nuts, the tailpiece nut, and the basket strainer seal, in that order. Fill the basin and pull the plug while watching with a flashlight. The joint that drips under that full load is the one to re-washer or re-putty.
How do I know if the leak is from the faucet or the drain?
Run the faucet with the stopper out so the water goes straight down. If the cabinet gets wet, the faucet or its supply connections are leaking, since the drain assembly is barely carrying any water. If it stays dry, plug the sink, fill it, and release it. A leak that appears then is in the drain assembly.
Can I use plumber's tape on sink drain pipes?
No. Kitchen drain joints are slip joints sealed by a tapered washer, and tape on those threads stops the nut from compressing the washer evenly. Plumber's tape belongs on tapered pipe threads like a shower arm or a hose bib. For drain joints, a fresh washer and a hand-tight nut is the correct fix.
How much does a plumber charge to fix a leak under the sink?
In most US cities, $150 to $300 for a service call that replaces a trap, a supply line, or a strainer, with parts included. A shutoff valve replacement runs $150 to $250 on its own because the house water has to be shut off. Diagnosing with the paper-towel test first means that if you do call, you can name the part and the visit is shorter.
Related fixes

Kitchen
How to Fix a Leaky Faucet (Find the Right Part First)
A dripping faucet is a worn cartridge, washer, or seal. How to identify your faucet type, buy the right $5–$20 part, and swap it in under an hour.
Time30–60 min Cost$5–$20 moderate
Kitchen
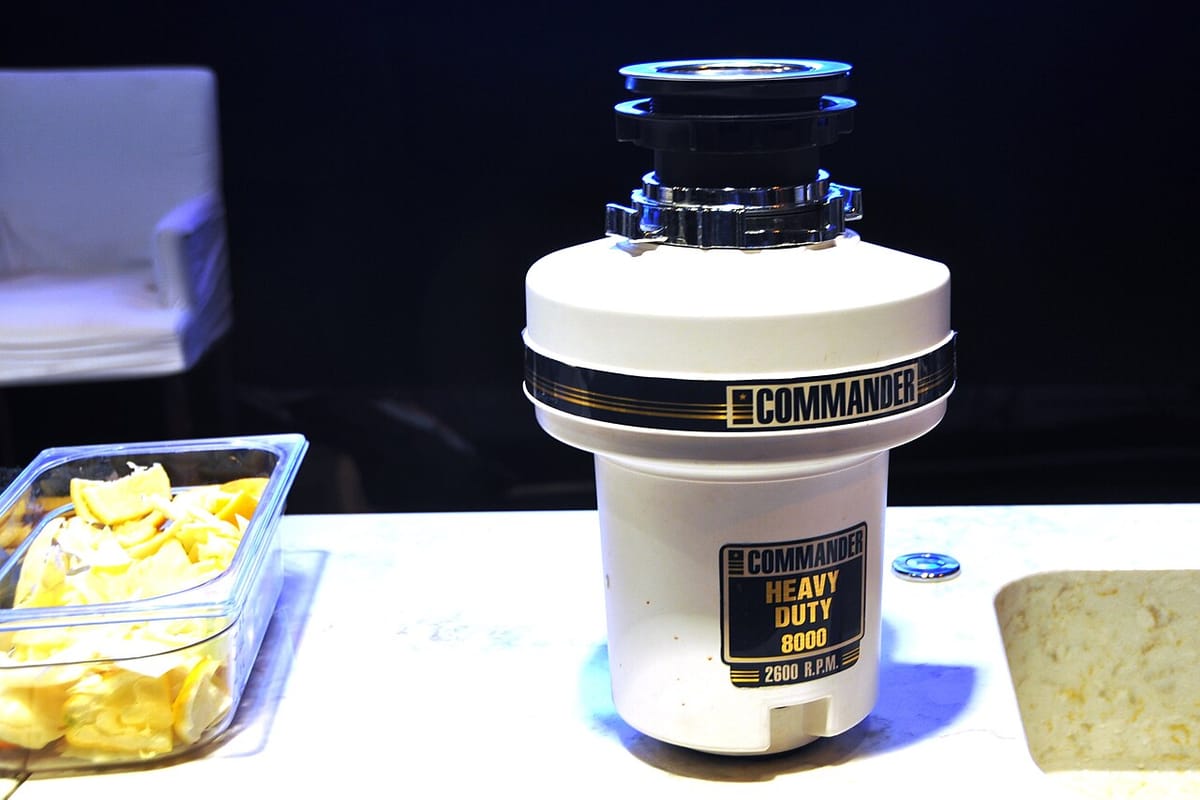
Garbage Disposal Not Working? Humming vs Silence
A humming disposal is jammed and fixable in ten minutes. A silent one tripped its reset. Two symptoms, two different fixes, both usually free.
Time10–20 min Cost$0–$15 easy
.jpg)

Kitchen
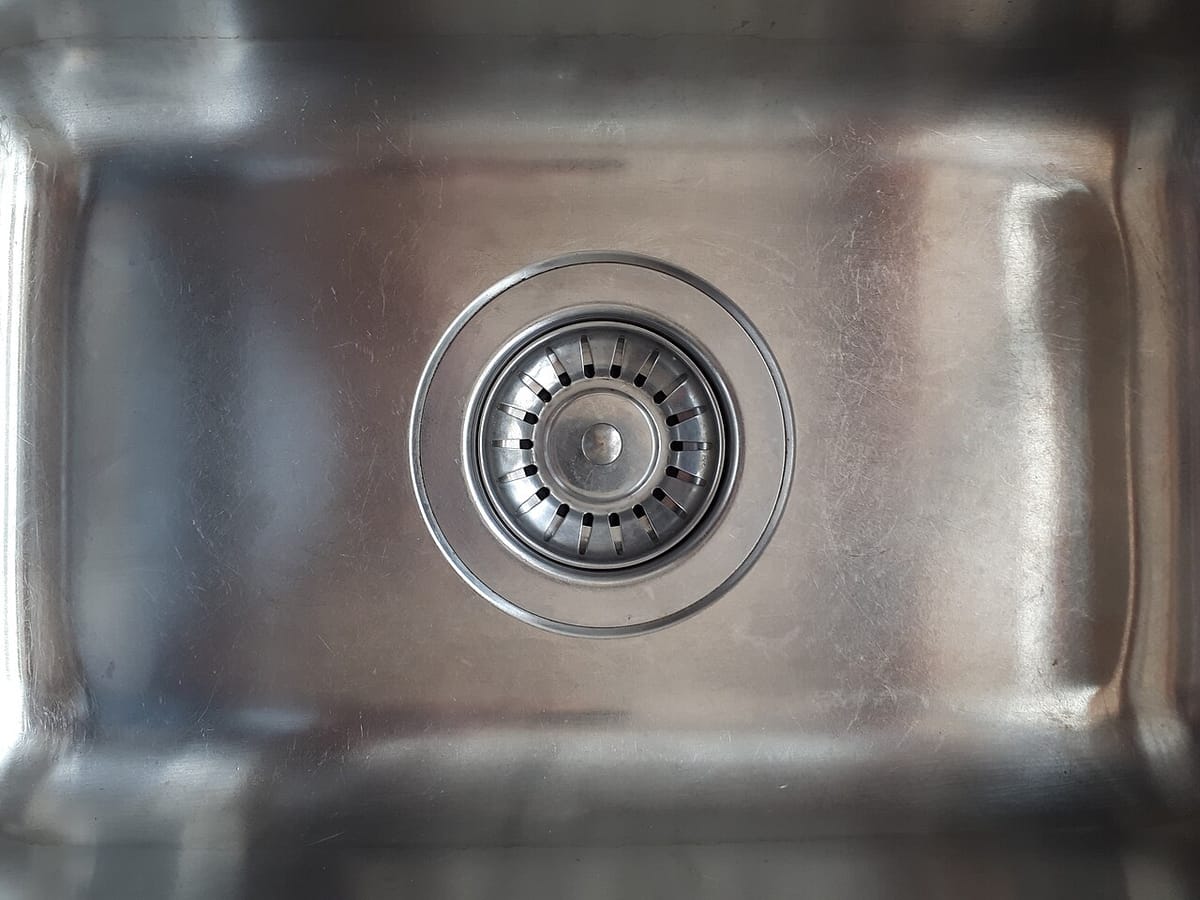
How to Unclog a Kitchen Sink Drain Without Calling a Plumber
A kitchen sink that won't drain is almost always grease packed in the P-trap. Plunge it right, pull the trap, and snake the line in under an hour for $15.
Time20–60 min Cost$0–$40 easy